Welcome Matte Pigments | 20 creative colours!
USD $63.67
In stock
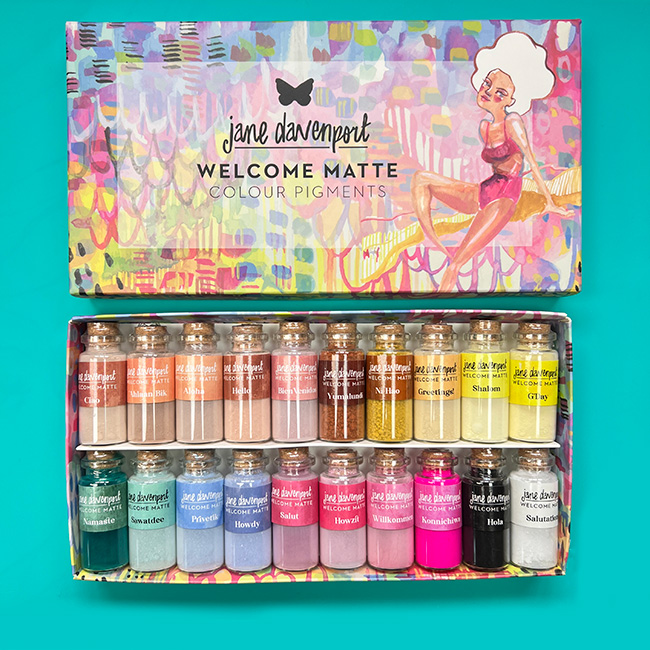
Welcome Matte pigments are designed to let you join in on the fun of making your own watercolour paint in the easiest, quickest way possible!
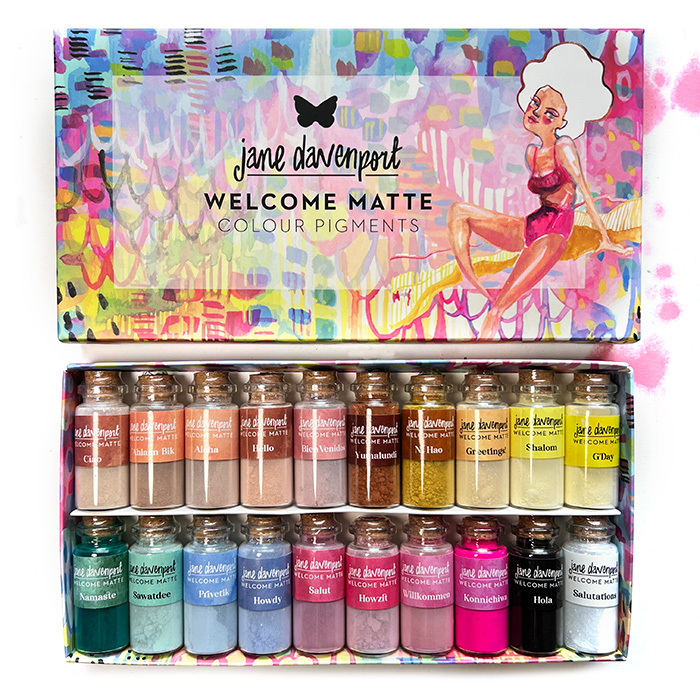
There are 20 colours to fall in love with, each named after a way to say a welcome greeting from around the world!

Each bottle holds enough pigment to make several pans of watercolour and bottles of ink. It depends a little on how you want to use them!

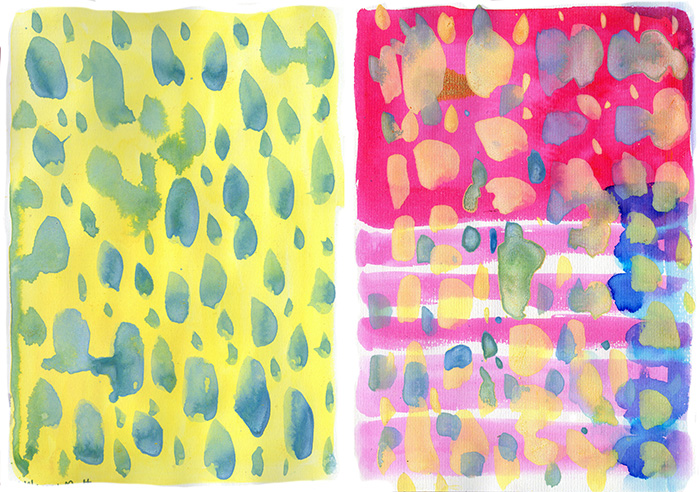
They work beautifully on all sorts of paper, even black card stock.
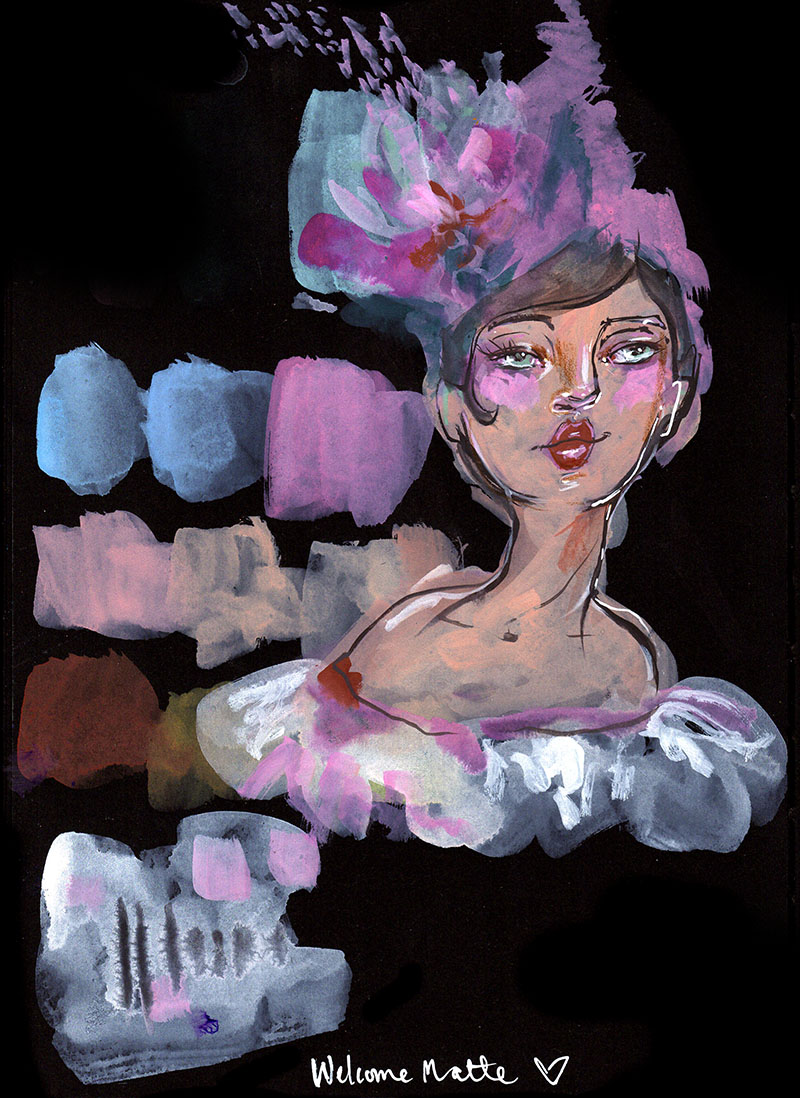
You can layer the colour to build up opacity

I especially love using them on our colour paper journals and Gessoh!

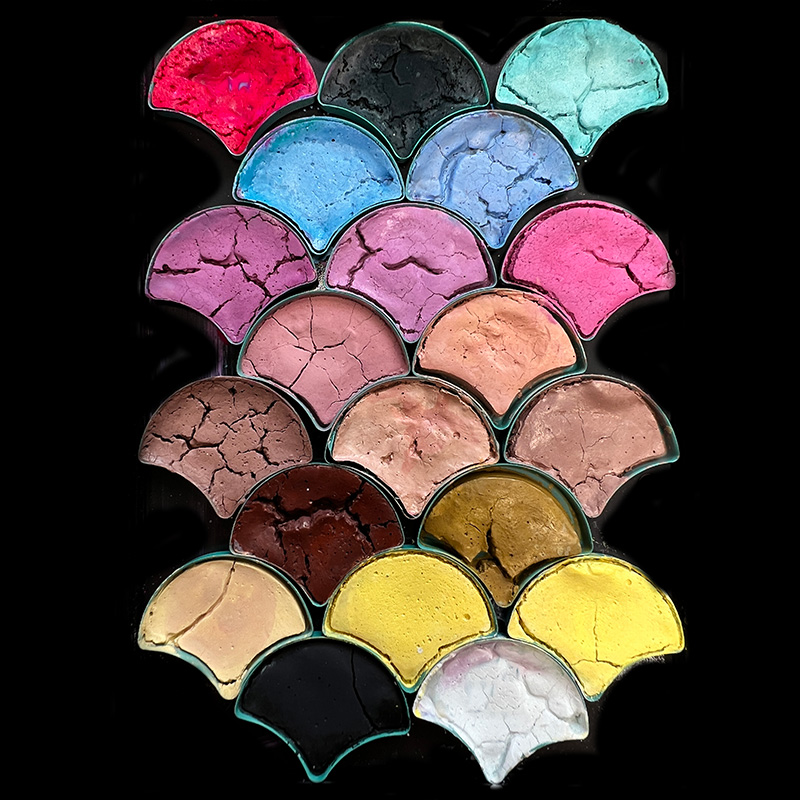
The Welcome Matte pigments will crack as they set, it’s just the way the pigment behaves as it dries. You can add some honey to your mix to help alleviate that if it really bothers you, but apart from being a little imperfect looking, the appearance makes no difference to the performance! 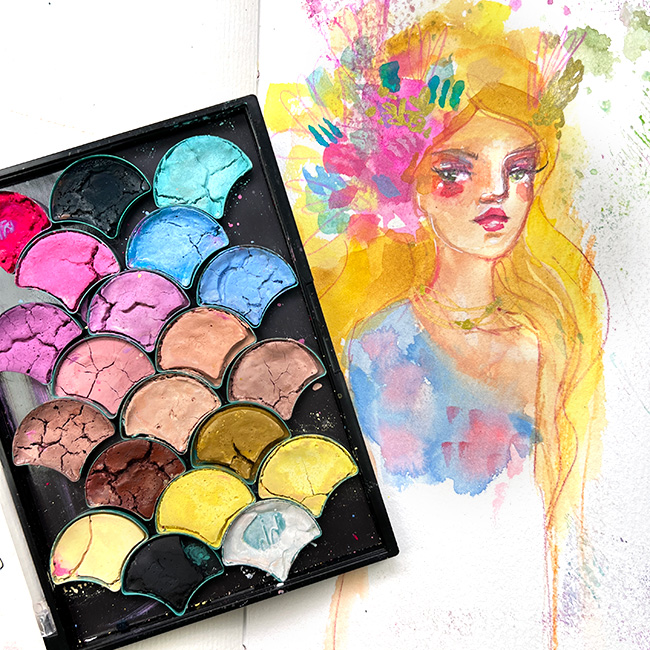
I like to think the Welcome Matte pigments are like me – a little cracked! 😂
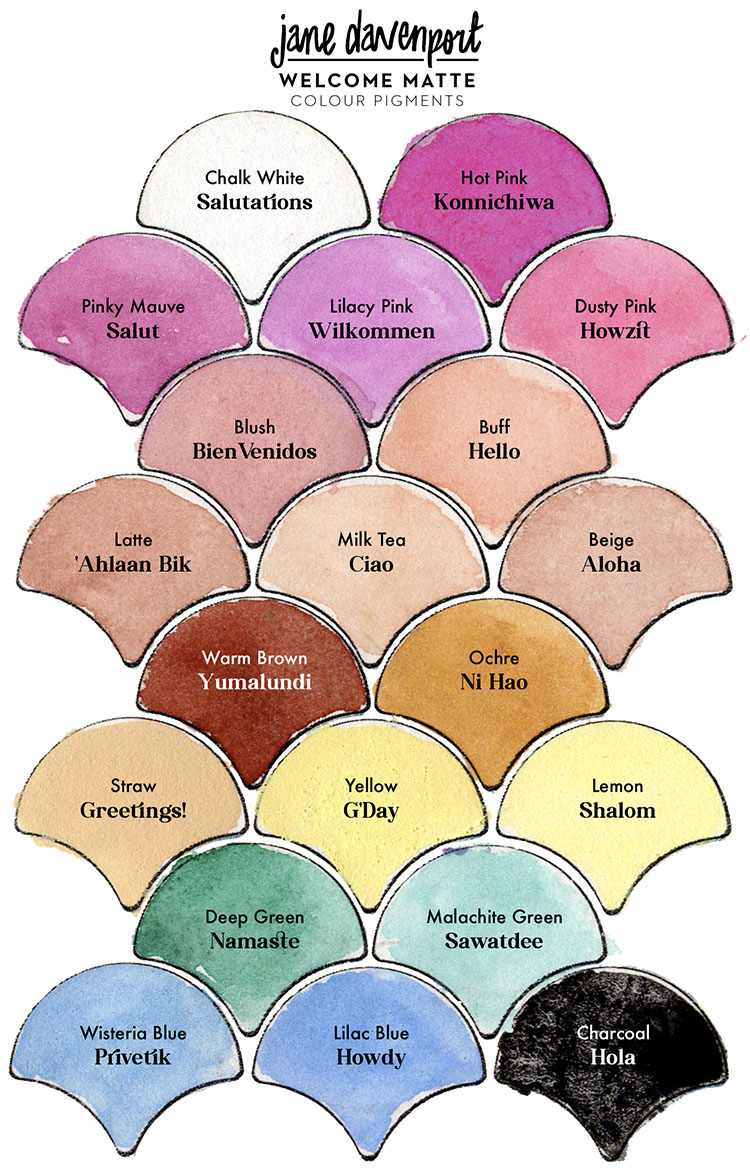
Watch the video!
What Jane says
Make a Watercolour Pan & Ink!
It’s actually very fun an easy.
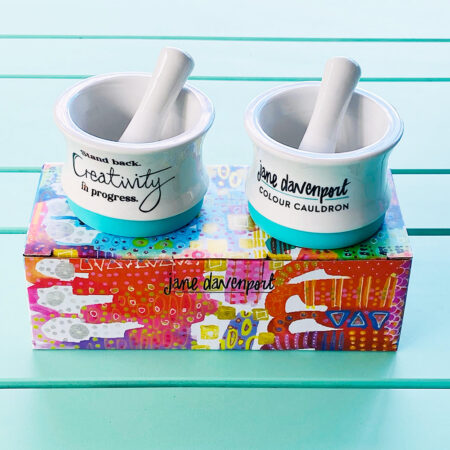
1. Add 2-3 grams ( 1 teaspoon) of pigment into a Colour Cauldron or small bowl.
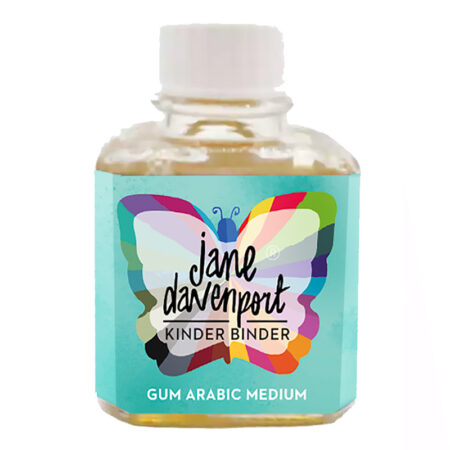
2. Add 2 to3 drops of Kinder Binder (Gum Arabic medium) to the pigment and mix. Each pigment varies a little in how much binder it will take to make a smooth and creamy paste, so gradually add drops of Kinder Binder until the you create a smooth paste.
OPTIONAL : add a very small amount of pure honey to your mix to help minimise cracking of the pan as it dries. It won’t completely eradicate cracking as that is a characteristic of Welcome Matte pigments, and the honey won’t add any functional benefit, but the pans will look a little smoother.
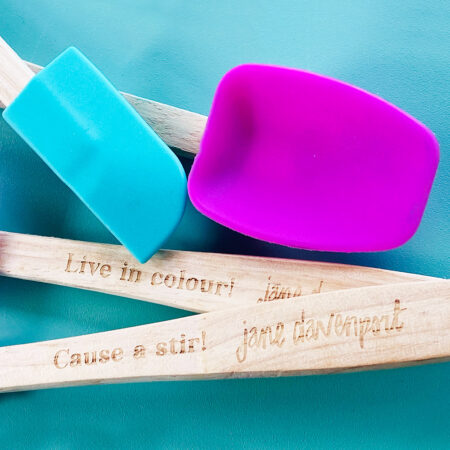
3. Once you have all the pigment and binder combined with no lumps, you can scoop up the mixture and add to a pan. If the pan isn’t full, you can mix up some more pigment and binder and add it on top. Stir with a toothpick to combine the layers in the pan.
4. Leave the pan on a level surface to set. This will usually take 24 hours. If your mixture was very runny, there may have been extra binder in your mix, and the pan will take a little longer to set and may flatten. You can use as is, or mix up some more pigment and top up the pan.
You can also make an ink from this mixture.:
1. Add enough distilled water to the watercolour paste to fill whatever tool you have planned to use it in ( eg: mister bottle, or WaterBrush).
2. Mix until dissolved.
3. Add a few drops of Kinder Binder to the ink – this will help adhesion of the pigment to paper.
4. Test to see if you like the effect of the ink, and add more water, or pigment as needed.
5. Pour your new ink into an airtight bottle. The pigment will settle over time, so shake to activate before use.
Join me at janedavenport.com and for live Lovestreams on the
‘Jane Davenport Artist’ Page on Facebook
What you might like to know
Watercolour consists of two main ingredients :
1. Pigment and 2. Binder made from Gum Arabic & water
The Binder is like a watersoluble glue that makes the pigment stick, or ‘bind’ to the paper.
You can purchase premade Binder, or make your own with a few ingredients.
Notes:
- I suggest you add the Binder little by little, and mix as you go to achieve the right consistency. Each colour behaves differently and adding binder as you are mixing allows you to perfect your technique.
- If your paste seems too stiff you can add a little more Binder.
- If your mixture is too runny, you can add a little more pigment, mix and let stand for a few hours so the excess binder can evaporate a little. Mix again and then add to your pan.
- Whether the mixture was too runny, too stiff or just right, once they set, they will all act the same, so have fun with making them!
- label your pan with the colour name as a reference. Believe me, you will be glad you did!
| Weight | .2 kg |
|---|---|
| Dimensions | 20 × 10 × 7 cm |

