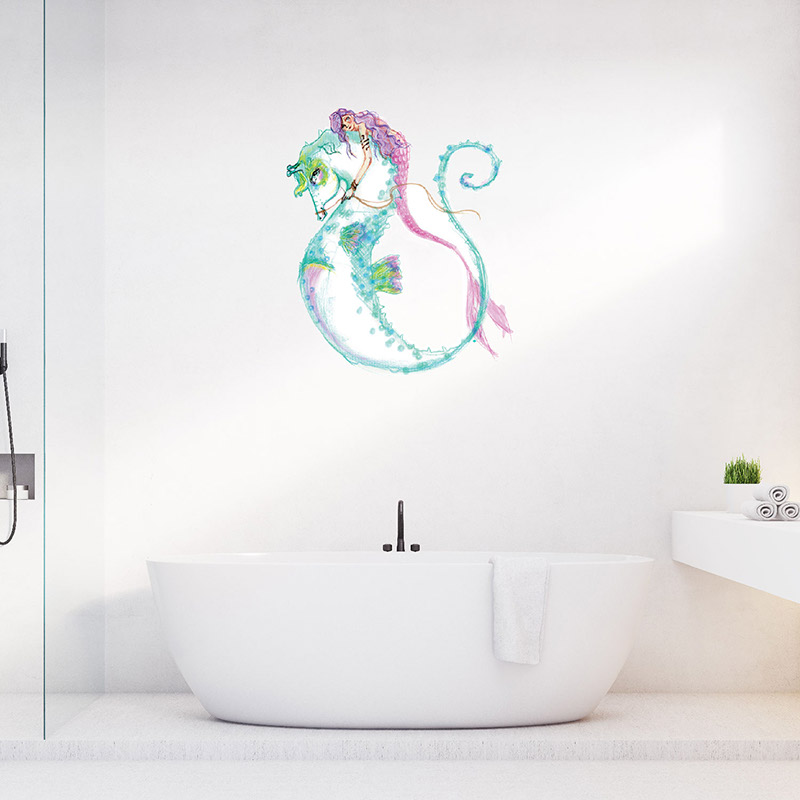
Seahorse love Wall Art | Dress up your walls!
USD $124.16
These removable, reusable wall decals are the perfect gift, a playful solution for anyone wanting to brighten up their space!

Mermaid-a-Licious! this beautiful Mermaid frolicking with her seahorse is sure to brighten up any space, the soft flowing delicate colours add to the whimsy and delight, this mermaid was created in front of a live virtual audience and is an example of Jane’s motto “Trust the mess”
You can see the whole collection and order here: click
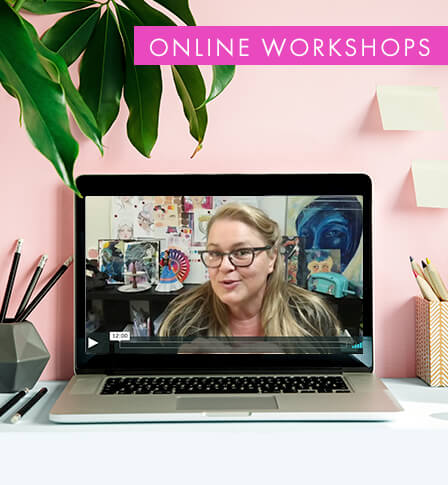
Watch the video!
What Jane says
The decals are a printed on a special type of material – not a shiny or glossy vinyl. They are easy to apply and remove and will not shrink, tear, or wrinkle.
These decals are made by the wonderful team at Kando, and can be purchased directly from their site.
As the material is a polyester fabric, it is Class A or 1 fire rated, non-toxic, PVC free and perfectly safe to use anywhere in your home.
What you might like to know
How do I apply my decals?
Our decals are made from a peel and stick, polyester fabric material that can be installed on almost any flat, clean surface, and then removed and reused many times over without leaving any adhesive residue.
Our decals are easy to apply and remove and will not shrink, tear, or wrinkle. As the material is a polyester fabric, it is Class A or 1 fire rated, non-toxic, PVC free and perfectly safe to use anywhere in your home.
Step 1: PREPARING YOUR SURFACE
Only apply to a smooth, clean and dry surface. If your decals are going onto a painted wall, make sure the wall has been properly primed prior to painting and allow at least 6 weeks after painting before application. We recommend avoiding walls painted with a Teflon based paint as this may reduce the adhesion of your decal.
It is not recommended to use our decals on textured or porous surfaces like brick, cement, concrete, render etc. We suggest that you test the area for a couple of days first. Avoid placement above fireplaces.
Use a warm, damp cloth or sponge to thoroughly clean the surface before application and allow to completely dry. Do not use any chemicals or cleaning solutions.
STEP 2: APPLYING YOUR DECAL
Starting from a corner, gently peel the entire decal from the backing liner. Do not allow the adhesive backing to come in contact with anything other than the wall. Try to avoid the adhesive layer from folding onto itself, however if it does, you can separate it by carefully pulling it apart. It should not damage the decal or adhesive.
Apply the decal very lightly to the wall to check positioning. If you are not happy with the decal position, gently remove and reposition. This can be done multiple times, however if the adhesive collects too much dust or dirt, it may become less effective.
Once you are happy with the position, start smoothing the decal out with your hand. We recommend starting from the centre and working out to the edges using the supplied squeegee.
Our decals can be overlapped, clustered, folded and cut without damaging the decals or your wall. They are also 100% opaque so can be used over any colour paint.
If there are any bubbles or wrinkles present, you can lightly press or smooth them out, or just peel back that area and re-apply. If a bubble re-appears over the next day or two, pressing and lightly rubbing should remove it. Bubbles may continue to occur if oil, dirt, or dust has not been removed properly from the surface if the wall had been painted within 30 days of application or cleaning chemicals were used during preparation.
You can see the whole collection and order here: click

