Beautiful Faces Decoupaged Candle Holder
Hi Davenpeeps!
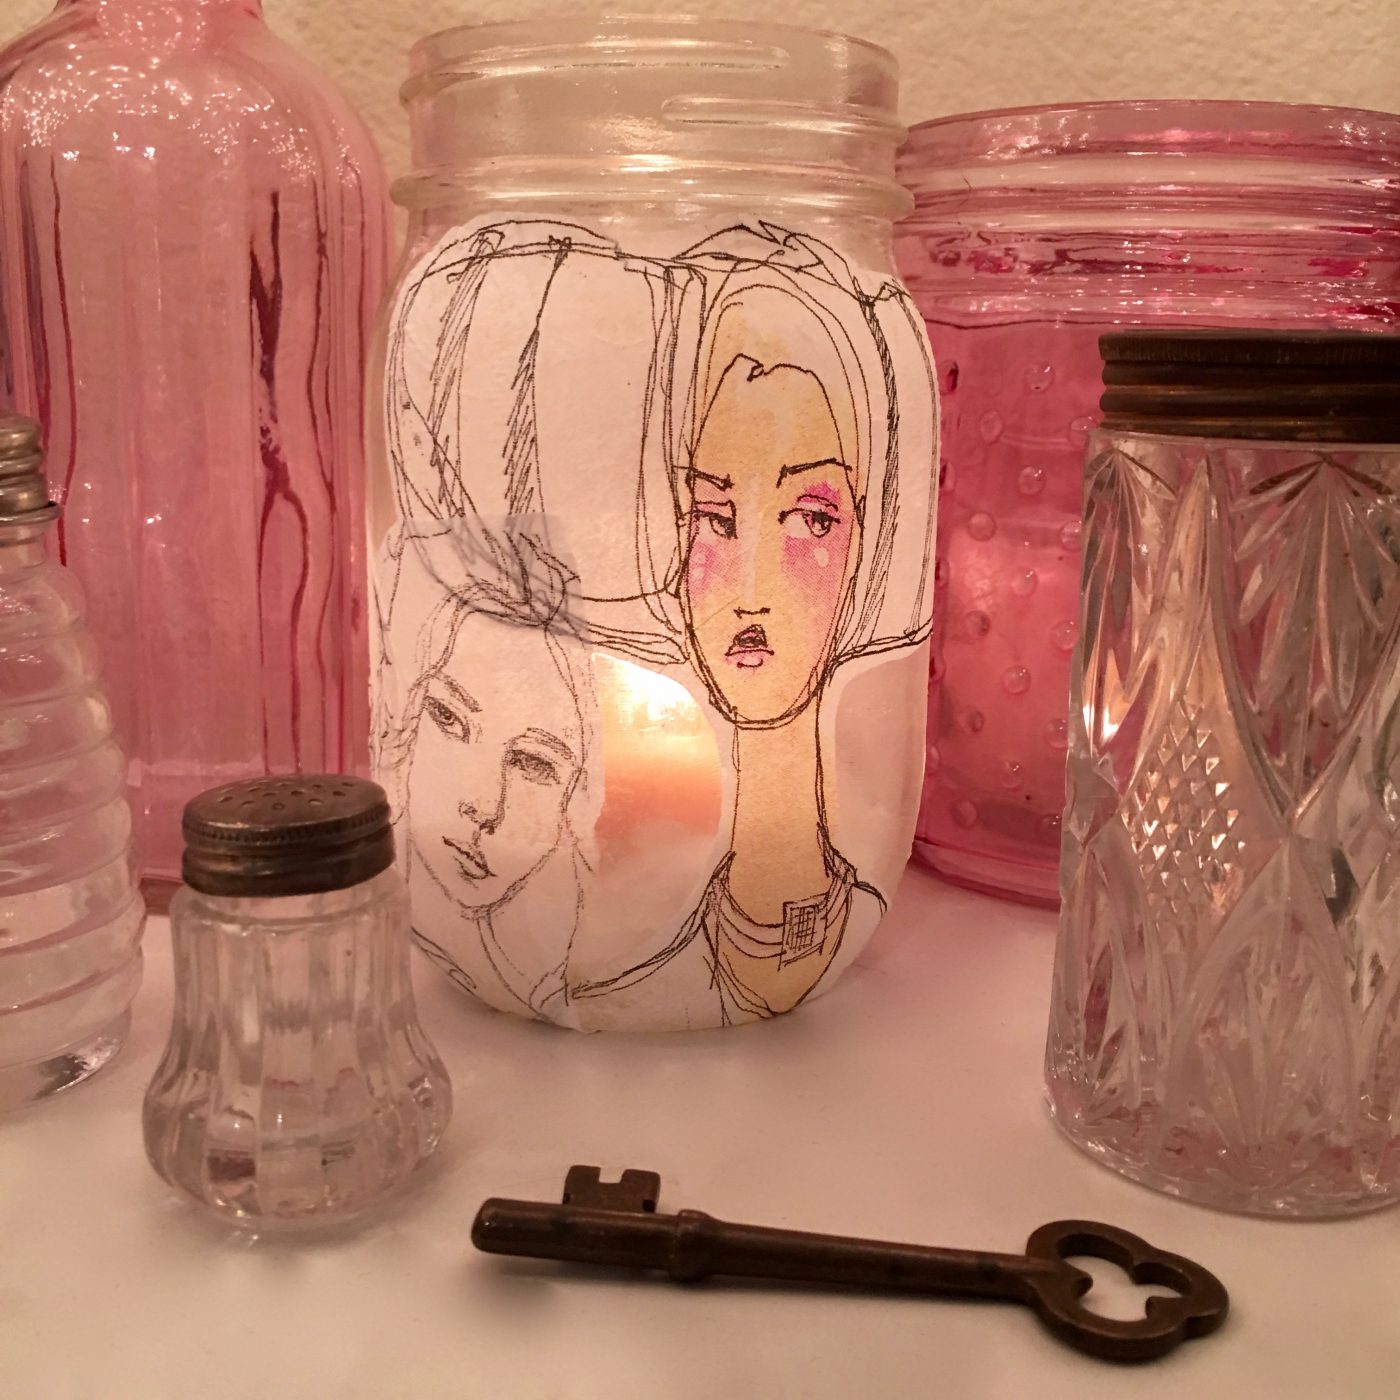
Thanks for allowing me to share a fun and easy craft project with you today. I’m going to show you how to use Jane’s collage papers to create a unique, translucent candle holder that will bring joy to any space.
The supplies you will need are:
A mason jar (I purchased mine at Michael’s for $1), Jane Davenport Collage Papers, Jane Davenport Matte Medi-Yum, a foam brush, and scissors (optional).
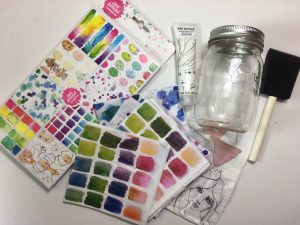
First, Decide which of the lovely Jane Davenport collage papers you will use. This is not an easy step, as they are all amazing!
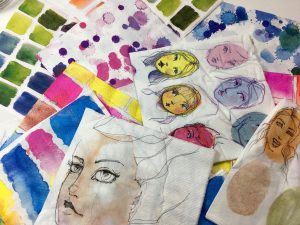
Next, cut or tear elements from the design of your choice. Either technique will work, it just depends what finished look you are going for. I chose to use scissors to cut several faces from one collage paper.
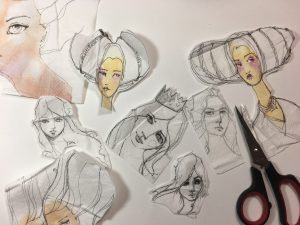
You can then audition your pieces and decide how you would like them to sit on your finished piece. It’s always a good idea to see how things will fit together prior to actually decoupaging them into place.
When you have decided which pieces you will use and have an idea of how you will place them, squeeze out a bit of Matte Medi-Yum.
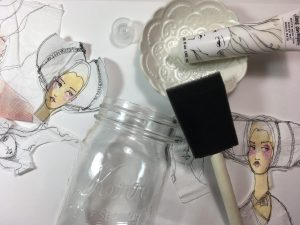
Next, use a dry foam brush to apply a thin layer of Matte Medi-Yum directly to the surface of your jar.
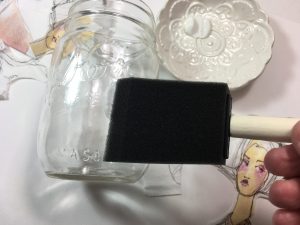
(You only need to cover an area large enough for your first image.)
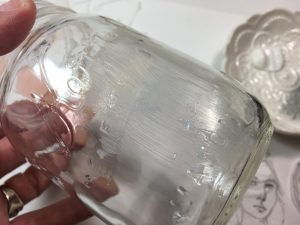
Pick up your first image with a clean dry hand and place it on top of the Matte Medi-Yum and gently press the image down, carefully smoothing out any worrisome wrinkles or bubbles.
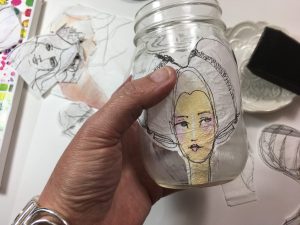
If the image extends beyond the bottom edge, simply wrap it under, applying Matte Medi-Yum underneath the paper.
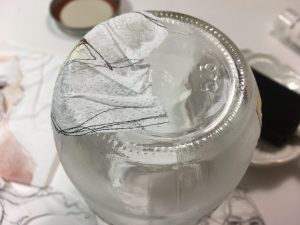
Continue with this process until you are happy with your design.
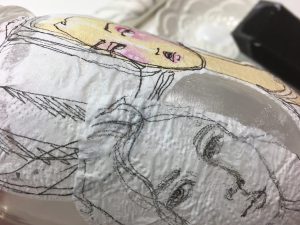
You can then add a layer of Matte Medi-Yum to the tops of all your images. I found this worked best when I squeezed a bit of Matte Medi-Yum directly onto the image and very gently pounced the brush to distribute it evenly. Your paper may look a bit wrinkled at this point, but it is best to resist the desire to smooth things out once you have added Matte Medi-Yum to the surface of your images. This exquisite collage paper is thin and can be delicate when wet. If you touch the surface while it’s wet with the Matte Medi-Yum, it may tear or you may lift off images. You can see in the photo below how bubbly my paper looked, however it dried beautifully!
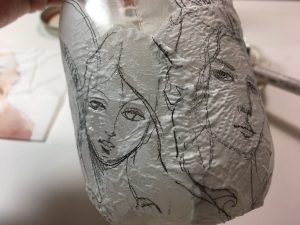
Turn your project upside down to dry.
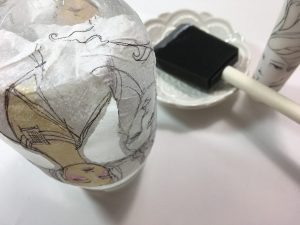
Once your project is dry, it is ready to display! I filled mine with a bit of rock salt and a tea light candle. (You may wish to use a battery operated tea light candle.) Jane’s designs look stunning illuminated!
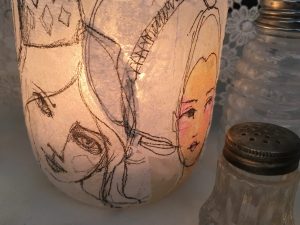
And the jar is interesting from every angle.
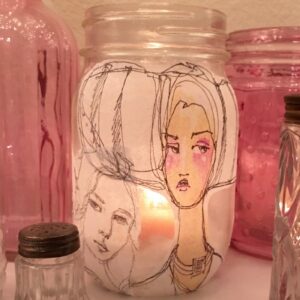
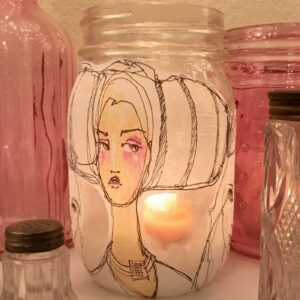
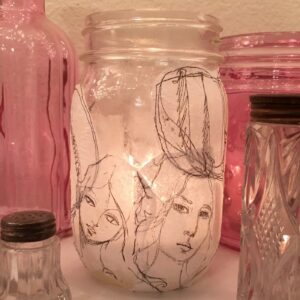
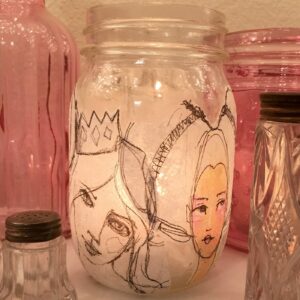
I hope this post inspires you to create a decoupaged jar of your own. As with all art, the possibilities are endless. I can imagine decoupaged jars filled with art supplies….maybe Jane’s Magic Wand colored pencils, or Mermaid Markers. I can also see them serving as lovely utensil holders for an outdoor table setting. How about a colorful jar to collect spare coins? There are so many different sizes and creative uses for mason jars, and with the variety of designs and colors of Jane’s collage papers, the possibilities are endless!
I look forward to seeing what you create!
Tiffany

SHARE
[Sassy_Social_Share]
Monster Mash – World Watercolour Month!
Magic Wands – My Fave Jane Supply
Tip-In INSPIRATION : Featuring the Aqua Pastels!

Welcome to my blog Davenpeeps!
If we haven’t met yet, I’m Jane Davenport! I’m a professional artist, art workshop teacher, 5x bestselling author, art supply creator and self-diagnosed art supply addict!
I’m a creativity expert who has guided tens of thousands of women back to their art, defying their self imposed creative gravity and making art with joy and confidence. I share my mixed media art and drawing techniques with everyday artists who feel their creativity calling them to play with colour, texture and their art supplies. I hope my blog can help you embrace the mess, let go of perfectionitis and experience the joy of creativity.
LEARN MORE ABOUT ME >
