Decoupaged Photo Frame
Hi Davenpeeps!
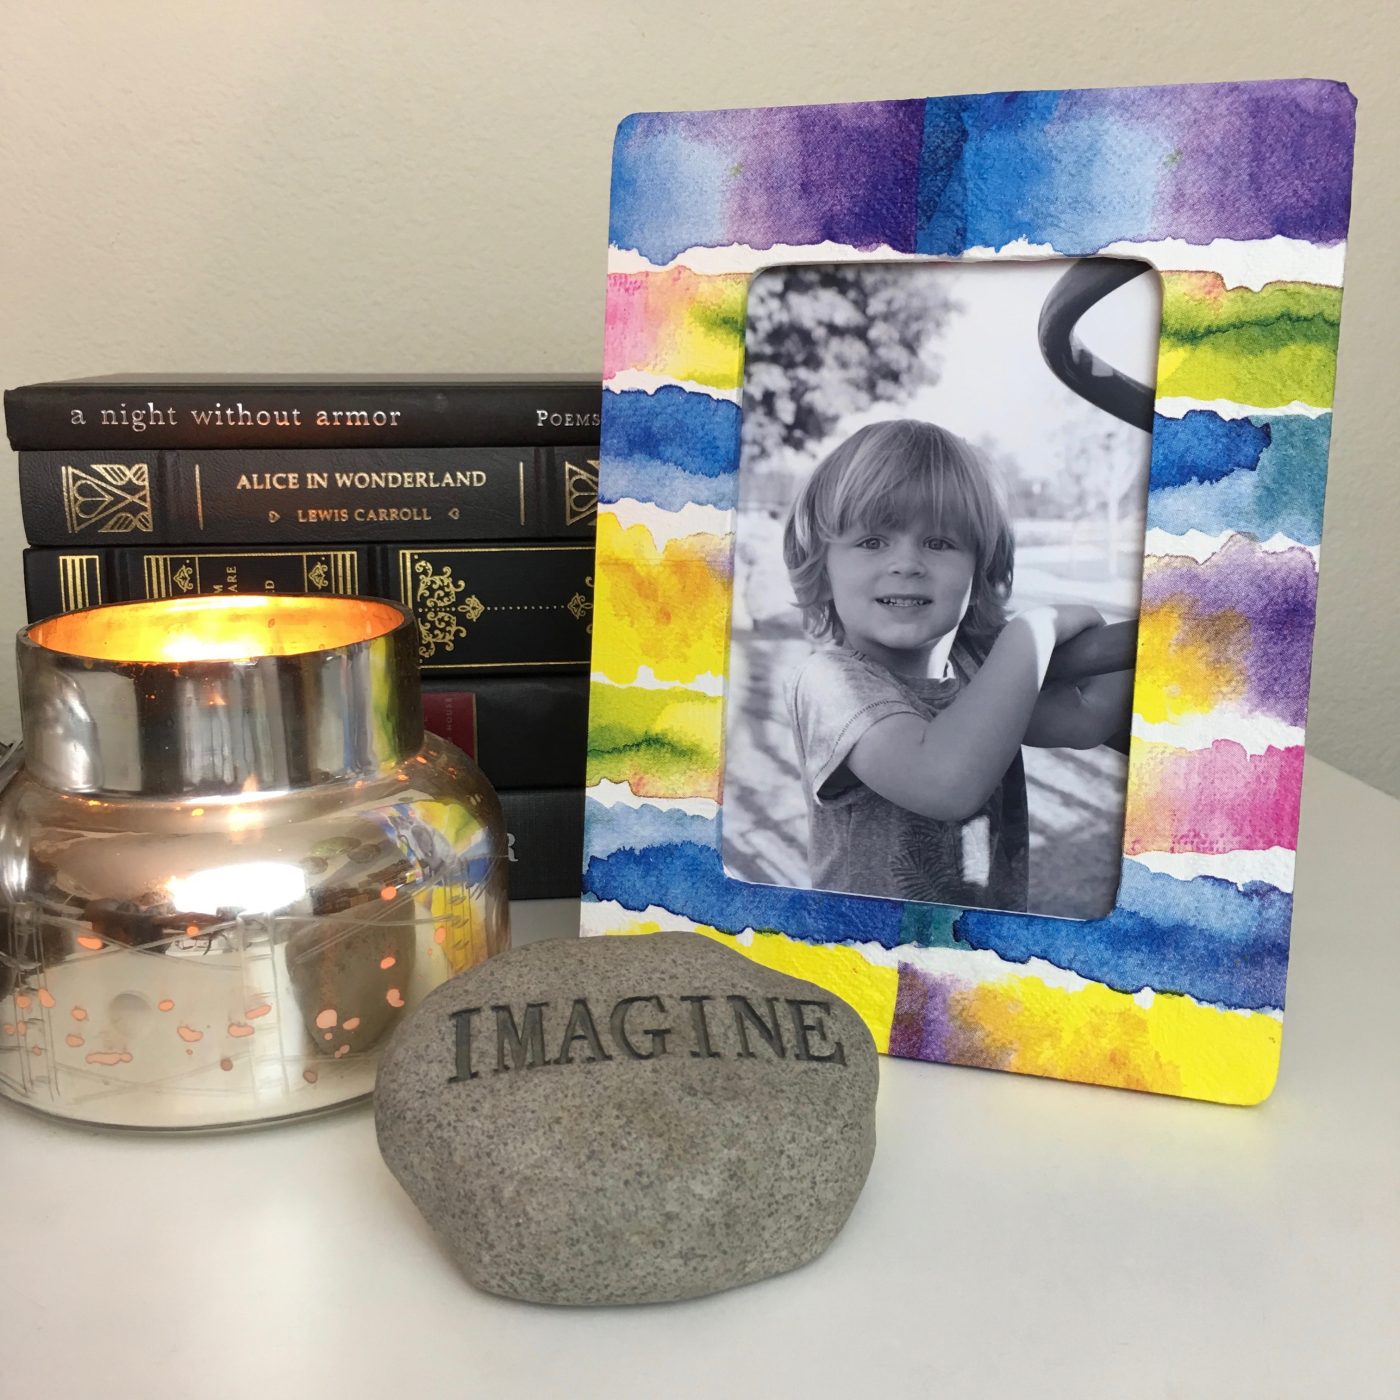
As you may have seen in my previous post, I really enjoyed creating a decoupaged candle holder. Now I want to decoupage ALL THE THINGS with Jane’s beautiful collage papers. So, this weekend I decoupaged a photo frame. The project was easy and fun, and the result was so lovely that I wanted share the process with you.
Materials you will need are: a photo frame of your choice, white paint (optional), Jane Davenport collage papers, Jane Davenport matte medi-yum, and a foam brush.
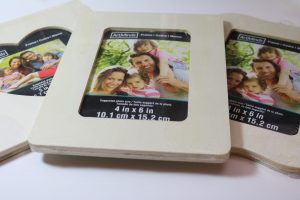
You can repurpose a used frame for this project, but I found these frames at Michael’s for just $1 and they are perfect for this craft!
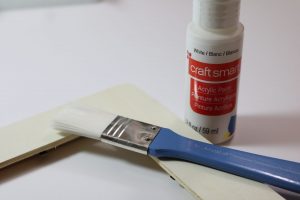
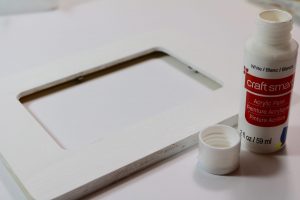
The first step is to paint your photo frame with white craft paint. This is optional, but it will help your finished colors look truer, as the collage paper is very thin. Make sure your paint has a matte finish.
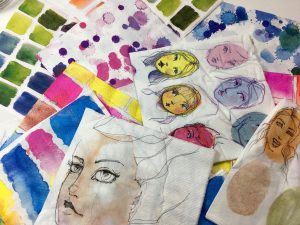
Next, select a piece of Jane Davenport collage paper.
Allow your painted frame time to dry.
Then apply Jane Davenport matte medi-yum to a small area with a foam brush.
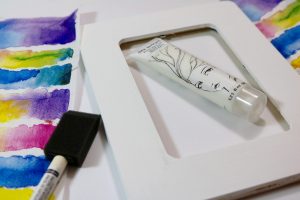
You can cut or tear pieces from a piece of collage paper or use the entire sheet like I did. Work in small areas to apply matte medi-yum and collage paper.
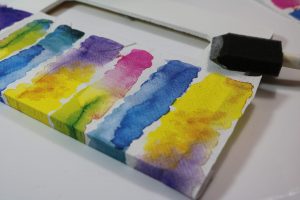
While your paper is still wet, you can apply another coat of matte medi-yum over the top surface of your collage paper. Dip your finger in water and gently pat down any air bubbles (you probably won’t have any).
Corners are easy…just follow the shape of the frame. I wrapped mine in and over as if I was wrapping a present.
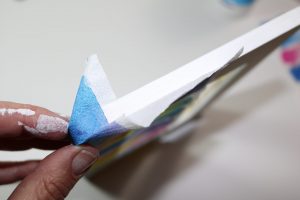
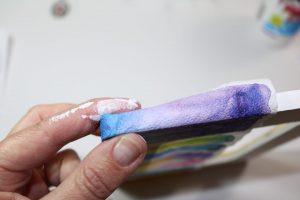
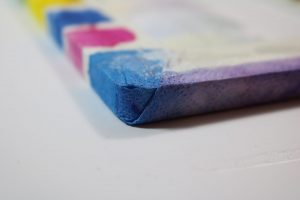
Once the front of your frame is dry, wrap the collage paper around the sides and onto the back and secure with matte medi-yum following the same steps. Use caution when setting your frame down on it’s front side. If your project is wet, your collage paper will stick to your work surface.
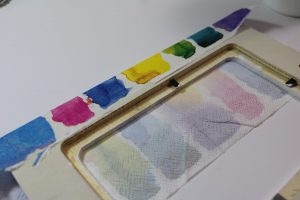
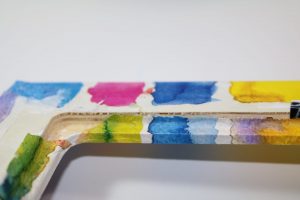
I’m really pleased with my new colorful photo frame! I think this project would be a fun craft to do with kids or teenagers, and it is so versatile!
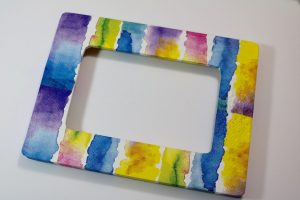
Thanks for reading. I can’t wait to see all the lovely decoupaged projects you create!
Peace & Love,
Tiffany

SHARE
[Sassy_Social_Share]
Monster Mash – World Watercolour Month!
Magic Wands – My Fave Jane Supply
Tip-In INSPIRATION : Featuring the Aqua Pastels!

Welcome to my blog Davenpeeps!
If we haven’t met yet, I’m Jane Davenport! I’m a professional artist, art workshop teacher, 5x bestselling author, art supply creator and self-diagnosed art supply addict!
I’m a creativity expert who has guided tens of thousands of women back to their art, defying their self imposed creative gravity and making art with joy and confidence. I share my mixed media art and drawing techniques with everyday artists who feel their creativity calling them to play with colour, texture and their art supplies. I hope my blog can help you embrace the mess, let go of perfectionitis and experience the joy of creativity.
LEARN MORE ABOUT ME >
