0
Items
USD $0.00

Hi Davenpeeps!
Mixed media artists love all things art supplies, color, texture and especially COLLAGE!!
I’m always looking for fun paper designs to layer into my work. Layering can be as complex or as simple as you wish. Jane’s Collage Papers will give you the edge and confidence you need to create a stunning, mixed-media masterpiece.
I hope you enjoy this process!
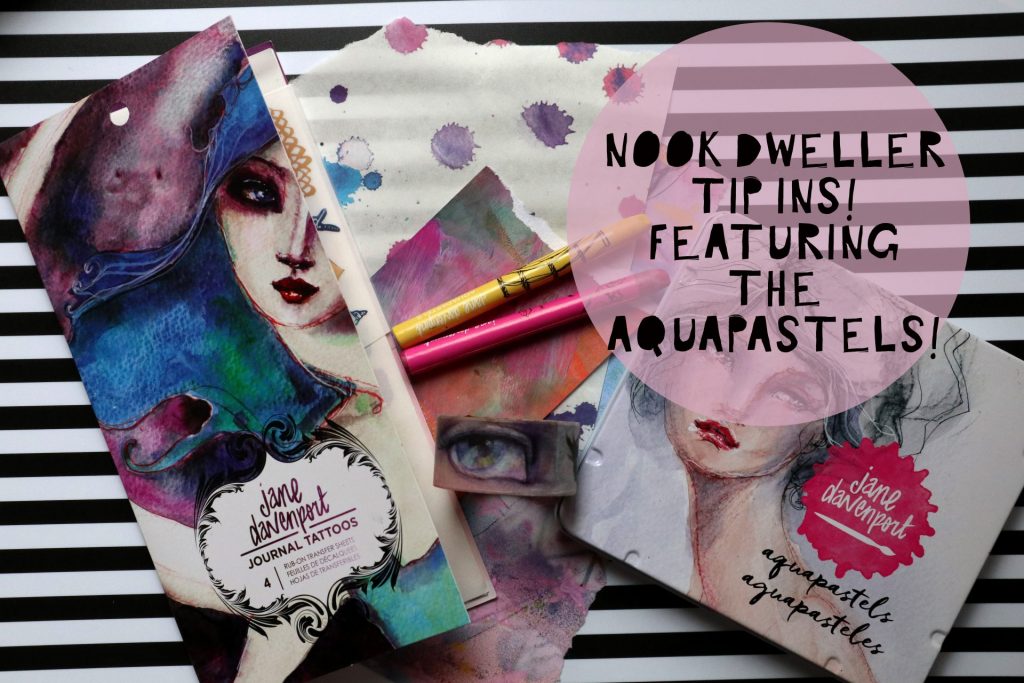
Supplies to gather:
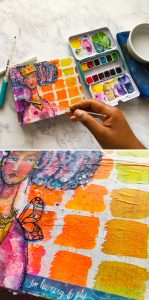
Step ONE: Remove the backing from the collage paper
I used a scrap piece of washi tape to gently pull apart the backing.
Next, an even layer of matte medi-YUM! was applied to the surface using a soft-bristled paintbrush. (Hard bristles could rip the paper – we don’t want that to happen!)
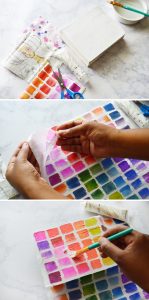
I placed the collage paper on the cover of my book and smoothed it with the palm of my hand.
Squeeze out more matte medi-YUM! to seal the paper. Starting near the center of the collage paper, I brushed my way out, towards the edges.
Allow to dry before removing the extra paper that overhangs.
The cool feature about these collage papers? The colors won’t smear when you brush over them!
The collage paper kind of melts into the background so that the color really stands out.
(Matte medi-YUM! makes your watercolors look translucent, or in other words, it gives your paints a watered down look while maintaining the color’s vibrancy.)
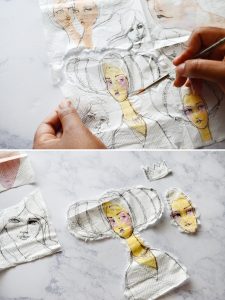
Step TWO: “Water cut” the collage paper
Take a clean, wet paintbrush and trace around the image you want to “cut out”.
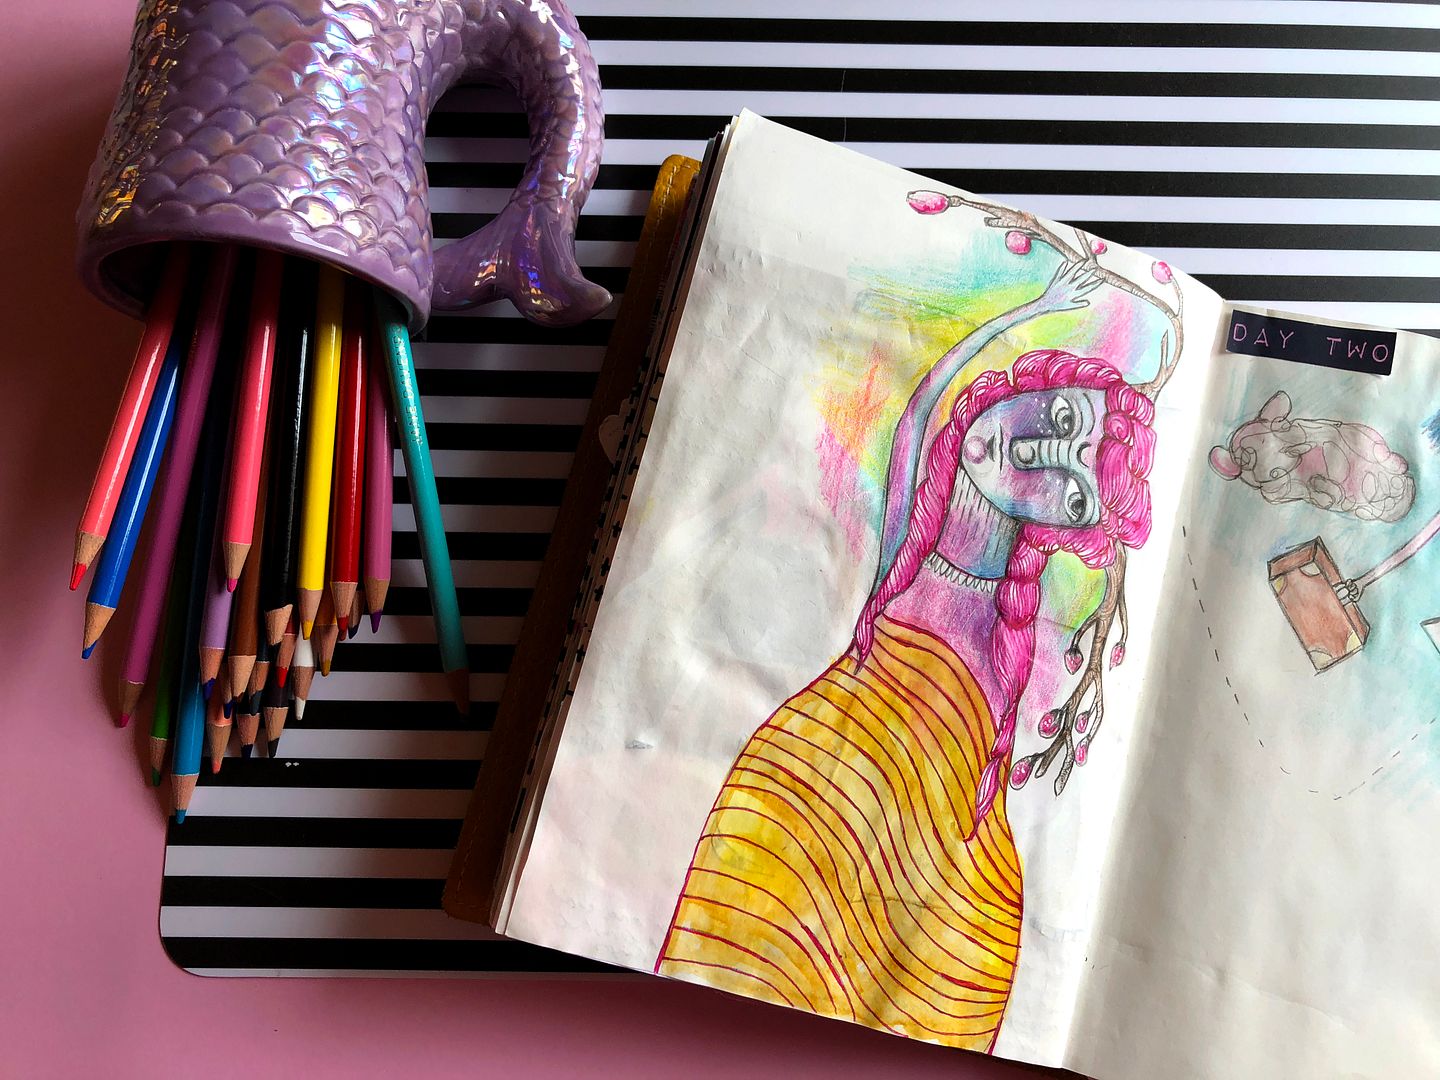
I want to use a couple of different elements to create my own character and to build layers.
I decided to use another face from the collage paper. Don’t ya just love the variation of these ladies?
Next, I cut out the crown with scissors because I wanted a hard edge instead of the feathery, torn edge.
Let’s throw some splashes of color onto her blouse!
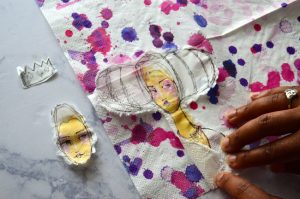
Step THREE: Adhere to substrate. Let dry.
Notice how the collage paper is extending past the edges of my book. When the matte medi-YUM! has completely dried, you can tear away the overhang.
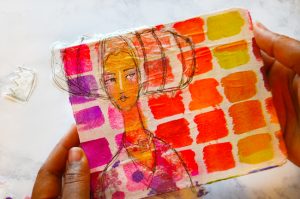
Step FOUR: Use Paint Over Pens + watercolor
Make her shine and stand out from the background! Use watercolors with a mixture of matte medi-YUM! to enhance your image.
Draw highlights on her face and curly strands of hair using the Unicorn and Mermaid Paint Over pens.
Step FIVE: Add embellishments
Stamp on some butterfly wings, add a strip of washi tape along the bottom, add glitter glue to her jewelry and crown. Now, she’s ready to go! (I might add a hand-lettered quote on the right side, or, just leave it blank. I really enjoy looking at those colorful swatches!)
I LOVE that she’s learning to fly! Her new wings are ready for her first adventure: a 30 day art challenge! If you want to know more about that, hop on over to my Instagram page @MarticeSmithArt!
Loved this project? Try your hand at it and be sure to tag your photo(s) with the hashtag #janedavenportmixedmedia when you post to social media so that we can all be inspired by what you create!

SHARE
[Sassy_Social_Share]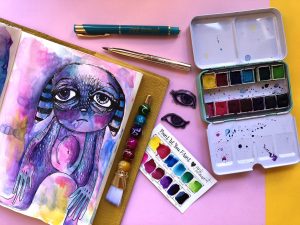

Welcome to my blog Davenpeeps!
If we haven’t met yet, I’m Jane Davenport! I’m a professional artist, art workshop teacher, 5x bestselling author, art supply creator and self-diagnosed art supply addict!
I’m a creativity expert who has guided tens of thousands of women back to their art, defying their self imposed creative gravity and making art with joy and confidence. I share my mixed media art and drawing techniques with everyday artists who feel their creativity calling them to play with colour, texture and their art supplies. I hope my blog can help you embrace the mess, let go of perfectionitis and experience the joy of creativity.
LEARN MORE ABOUT ME >

Art supply addict?

Wow, you sure have landed in the right place!
Join my newsletter to receive all the art supply launches, announcements, creativity tips & challenges.