Moth Dust | 10 new Pigments
USD $23.99
In stock
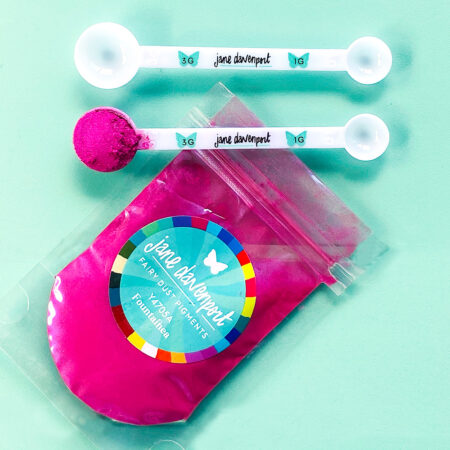
Moth Dust pigments are designed to let you join in on the fun of making your own watercolour paint in the easiest, quickest way possible. Each packet holds enough Moth Dust to make several pans of watercolour and bottles of ink. It depends a little on how you want to use them!
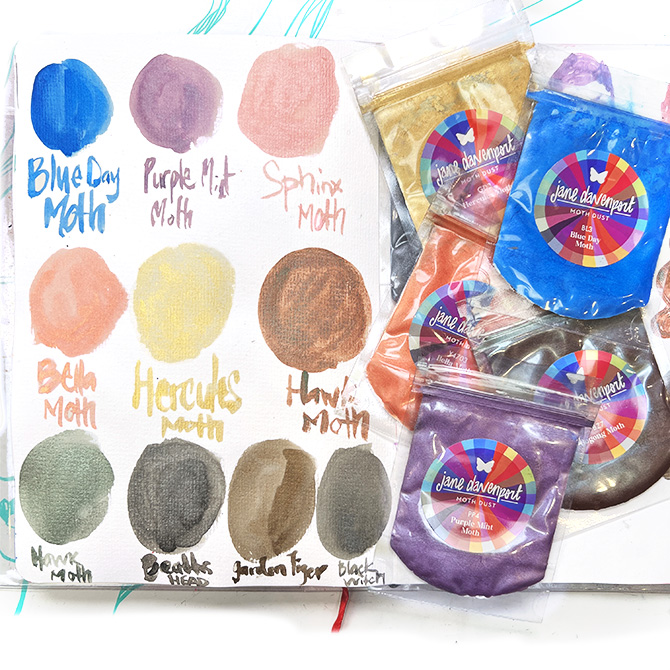
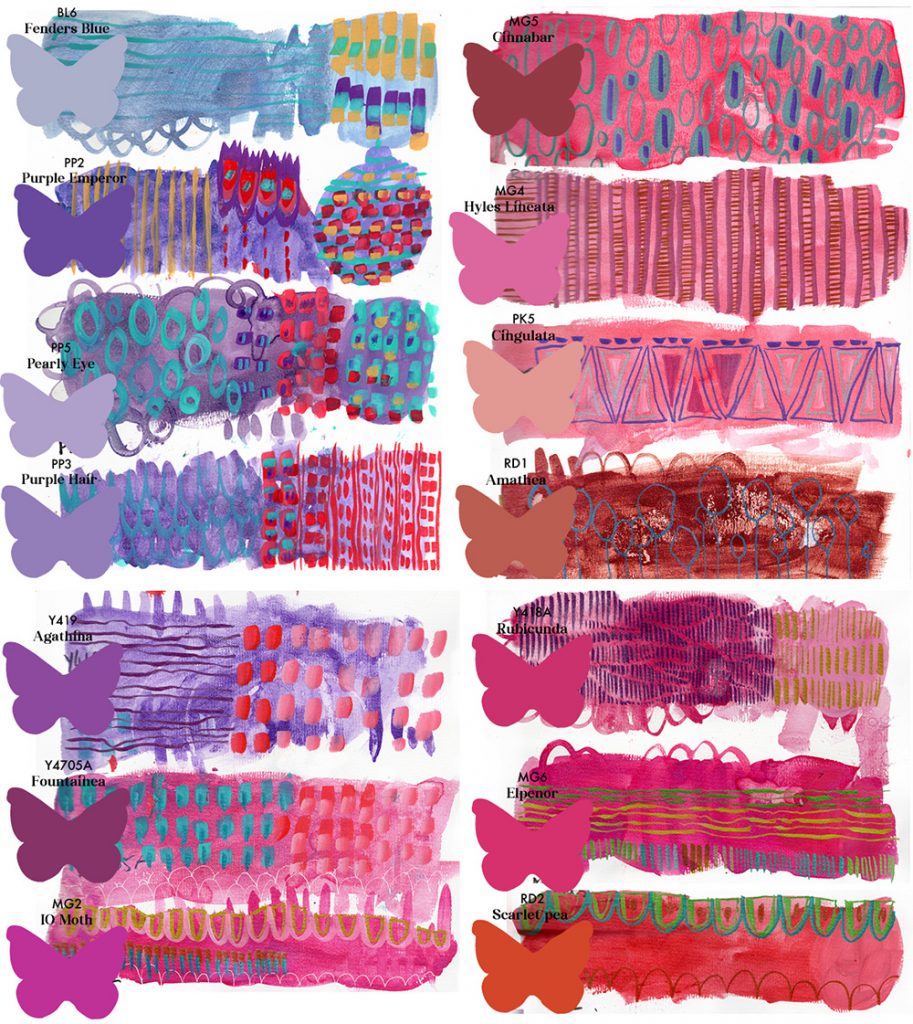
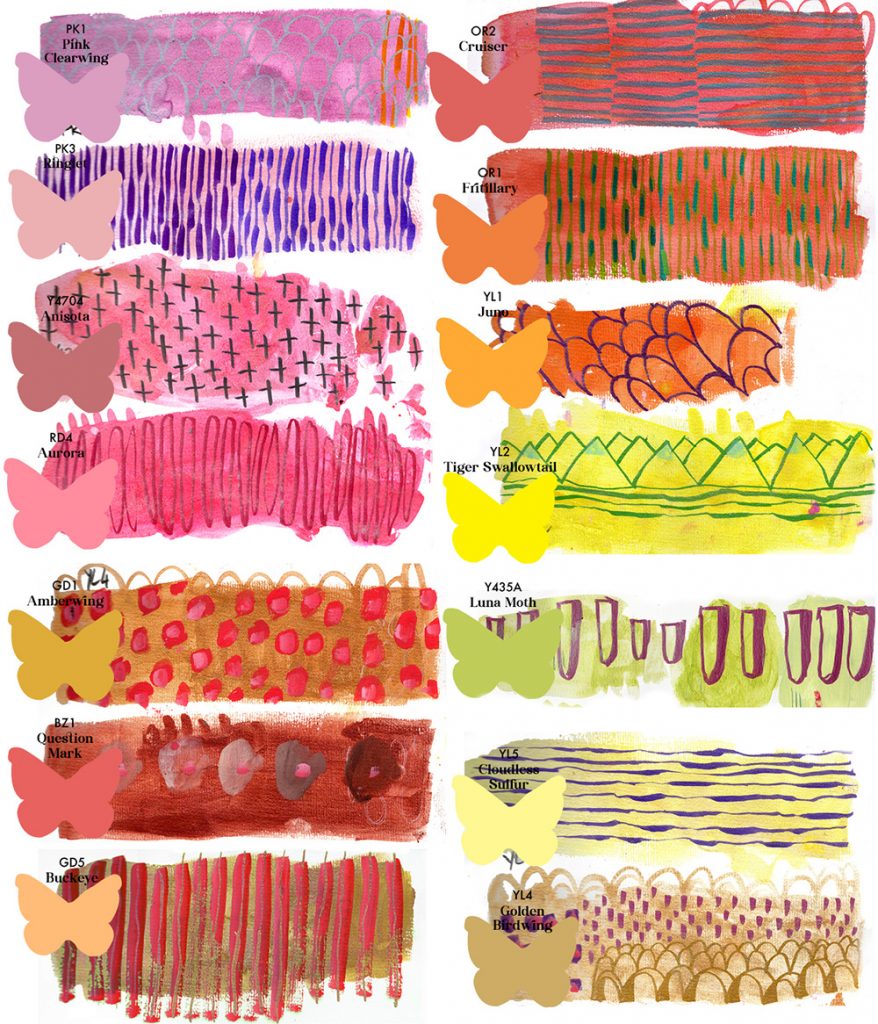
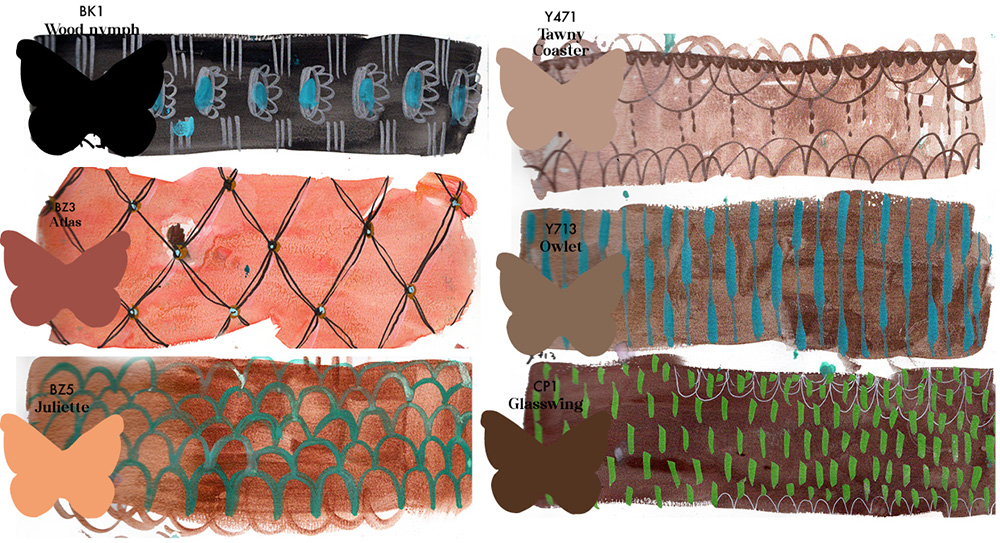
There are 10 colours to fall in love with, each named after a moth species from around the world.
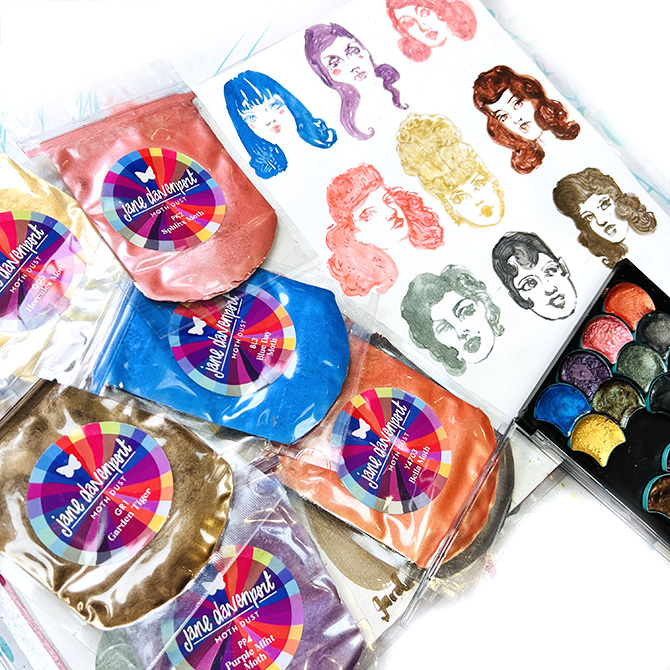
Watch the video!
What Jane says
- The Fairy Dust pigments are made from mica which is naturally produced and skin safe.
- The mica we use is certified as ethically harvested.
This is part of the new Fairy Dust pigment collection!
Look at these colours!!!
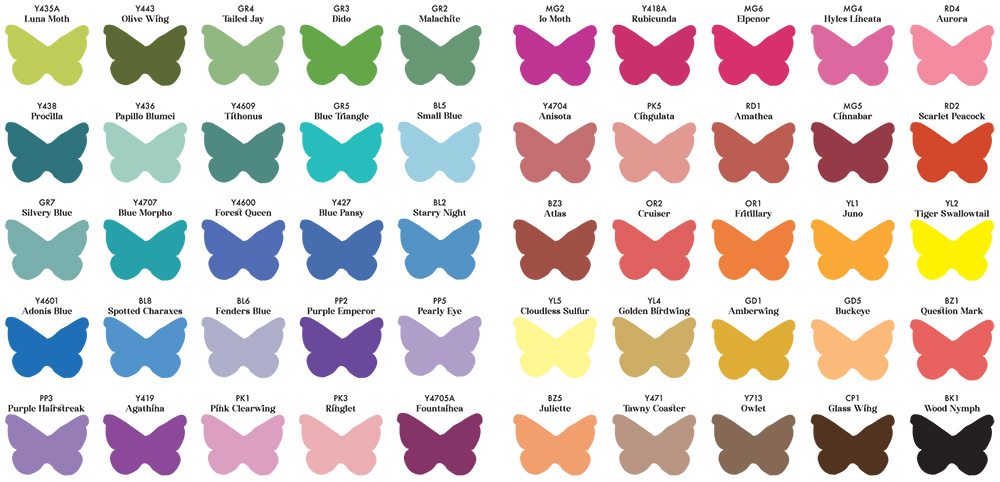
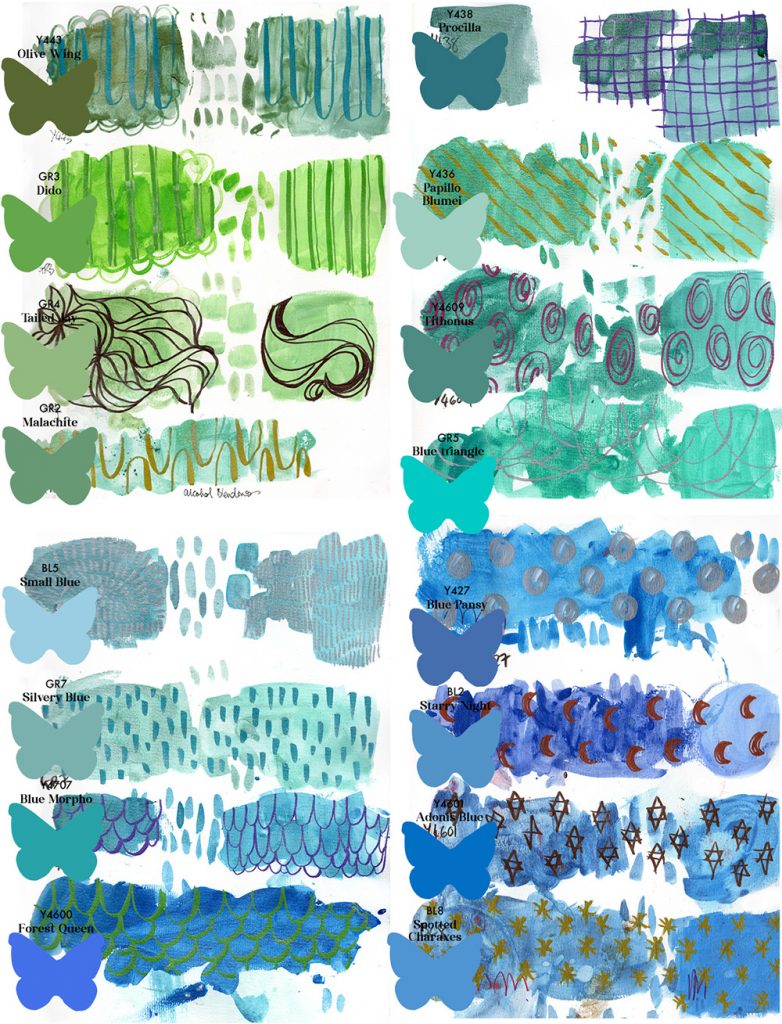
They glimmer, shimmer and colour shift!
What you might like to know
It is easy to make your own watercolours and inks with these pigments.
Watercolour consists of two main ingredients :
1. Pigment and 2. Binder made from Gum Arabic & water
The Binder is like a watersoluble glue that makes the pigment stick, or ‘bind’ to the paper.
You can purchase premade Kinder Binder, or make your own with a few ingredients.
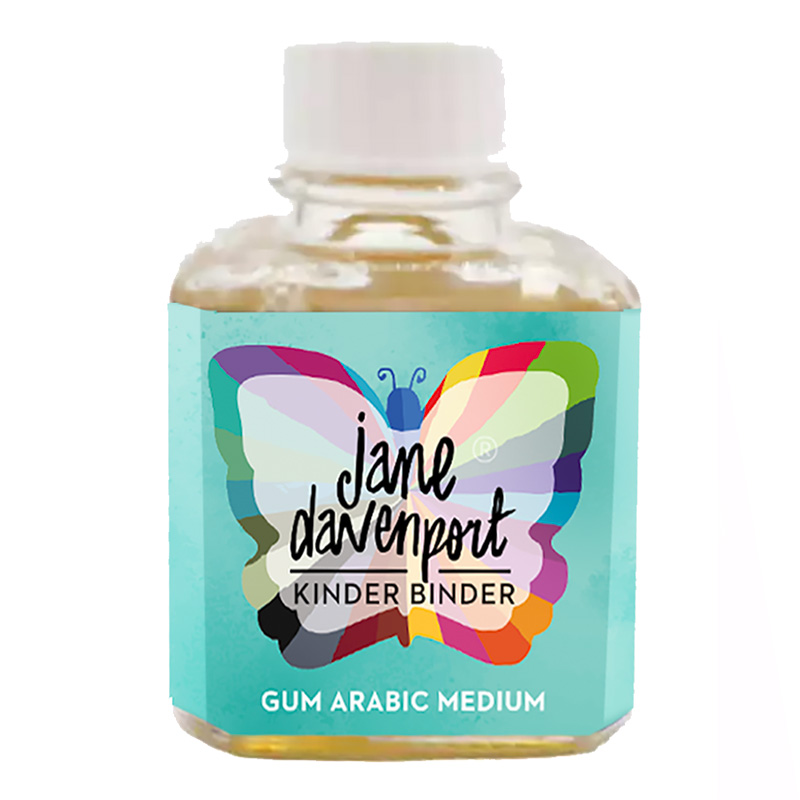
METHOD for making Homemade Binder with Gum Arabic powder:
- 6 Tbsp hot water
- 4 Tbsp Gum Arabic powder
- Pour Gum Arabic powder into the hot water and mix until fully dissolved
- Your homemade Binder must be stored in an airtight container in the refrigerator until used.
Optional ingedients to add to the hot water:
- Add 1 Tbsp of runny honey to help prevent watercolor pans from cracking.
- Add a drop of glycerin for increased rewetting properties.
- Add a drop of clove oil as a scented anti-mould preservative.
Making your Paint
You will need :
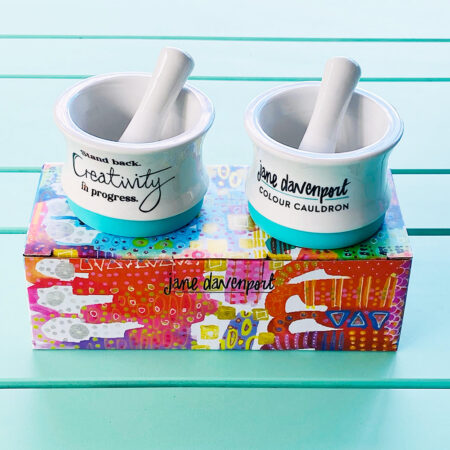
- Colour Cauldron or small bowl.
- spARTulas or something to scoop and scrape with
- Treasure Measure to scoop and measure Fairy Dust
- Palette Pipette to add controlled amounts of Binder and water.
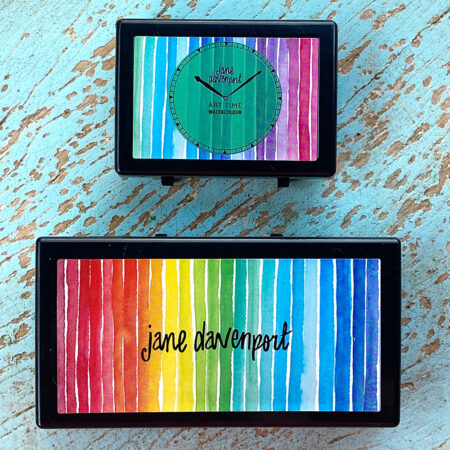
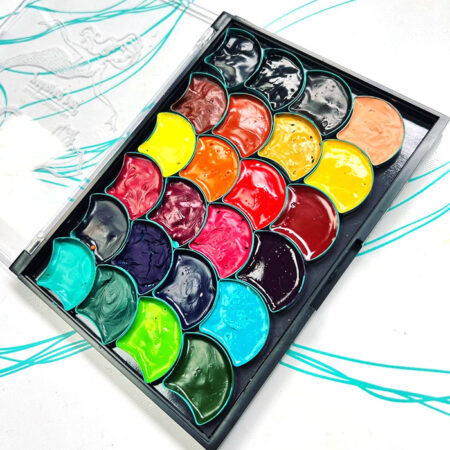
- Pantastic Pans & Palette to house your new watercolours!
- FairyDust pigments
- Binder
METHOD for FairyDust watercolours
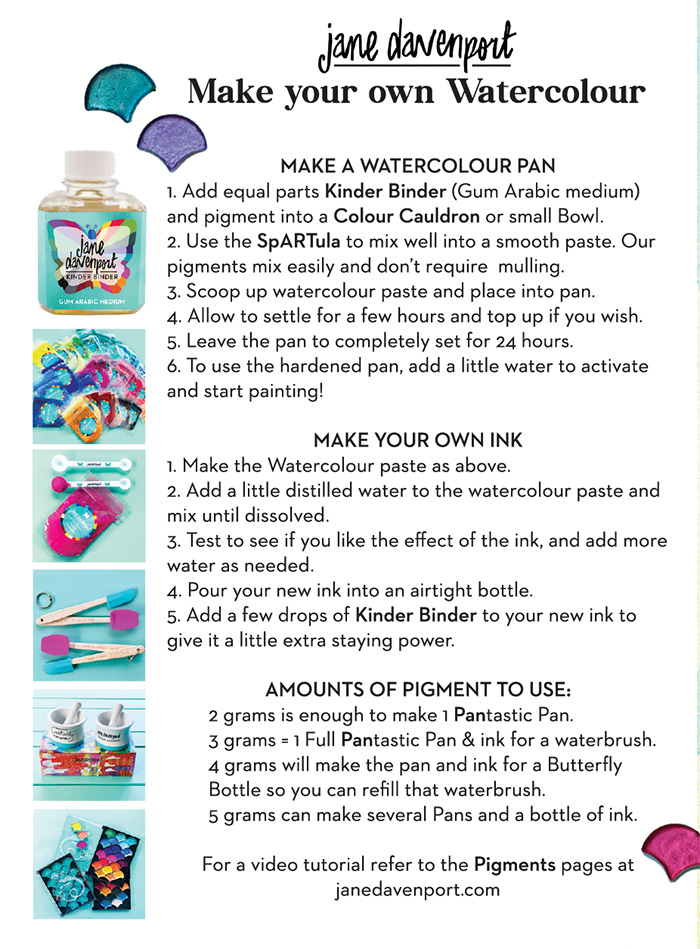
- 1. Add 1 part Binder with 1 part FairyDust into the Colour Cauldron .
For example, to make one pan of watercolour and ink for a waterbrush from the leftovers, mix a 3 gram Treasure Measure scoop of FairyDust and an equal amount of your Binder ( 3ml in the Palette Pipette). - Use the SpARTula to mix well into a smooth paste. The FairyDust pigments mix very easily do not need grinding or mulling.
- Scoop the paste into your Pantastic pan.
- Leave to set for 24 hours and then start painting!
METHOD for FairyDust inks
- Make the watercolour paste as above.
- Add a little distilled water to the paste and mix until dissolved.
- Test to see if you like the effect of the ink, and add more water as needed.
- Once your ink is to your liking pour your new ink into Butterfly bottle or Waterbrush.
NOTES:
- I suggest you add the Binder little by little, and mix as you go to achieve the right consistency. Each colour behaves differently and adding binder as you are mixing allows you to perfect your technique.
- If your paste seems too stiff you can add a little more Binder.
- If your mixture is too runny, you can add a little more pigment, mix and let stand for a few hours so the excess binder can evaporate a little. Mix again and then add to your pan.
- Whether the mixture was too runny, too stiff or just right, once they set, they will all act the same, so have fun with making them!
- label your pan with the colour name as a reference. Believe me, you will be glad you did!
- FairyDust in NOT suitable for misters and sprays. It will clog the sprayer.
Here is the printable drag-and-drop version:
| Weight | .1 kg |
|---|---|
| Dimensions | 15 × 10 × 5 cm |

