0
Items
USD $0.00

Hi Davenpeeps! Thank you for stopping by!
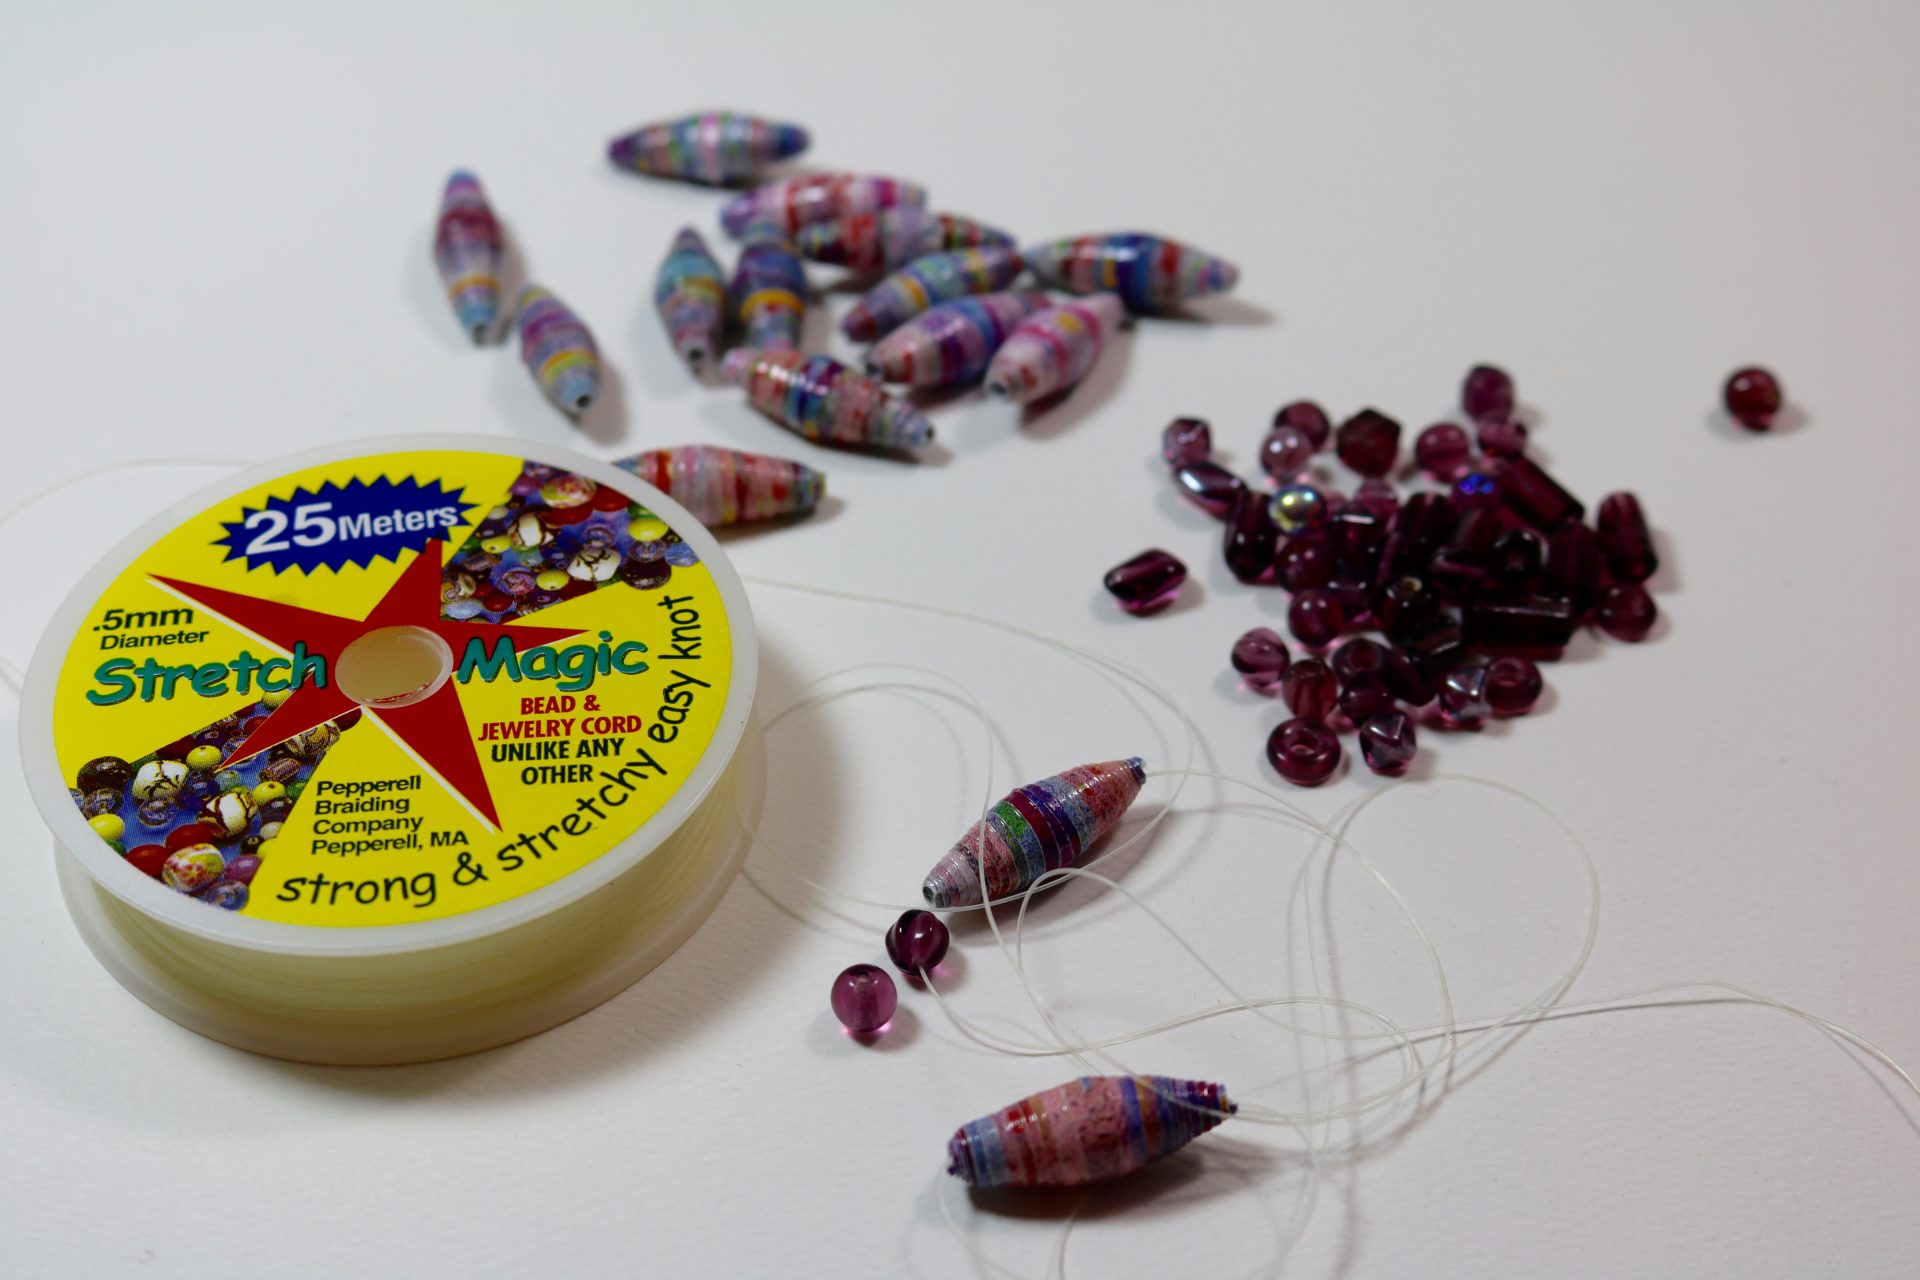
Today I’d like to share a craft my middle school art students love to create, paper beads. Paper beads are fun and easy to make and the finished product is simply stunning. Jane’s papers are perfect for making paper beads! The colors are vibrant and the effects created when the paper is rolled into a bead shape are unique and interesting.
For this project you will need a ruler, pencil, at least one piece of Jane Davenport paper, toothpicks, a glue stick, and a finishing glaze or clear nail polish. If you plan to create a bracelet with your beads, you will need some elastic jewelry cord.
Let’s get started!
First, select a piece of paper from the Jane Davenport paper pad. On the reverse side of the paper, draw lines as shown below, creating long triangles. Begin your first line 1/2″ from the left side of your paper and ending at the left edge of the paper as shown below. The base of each triangle will be one inch wide.
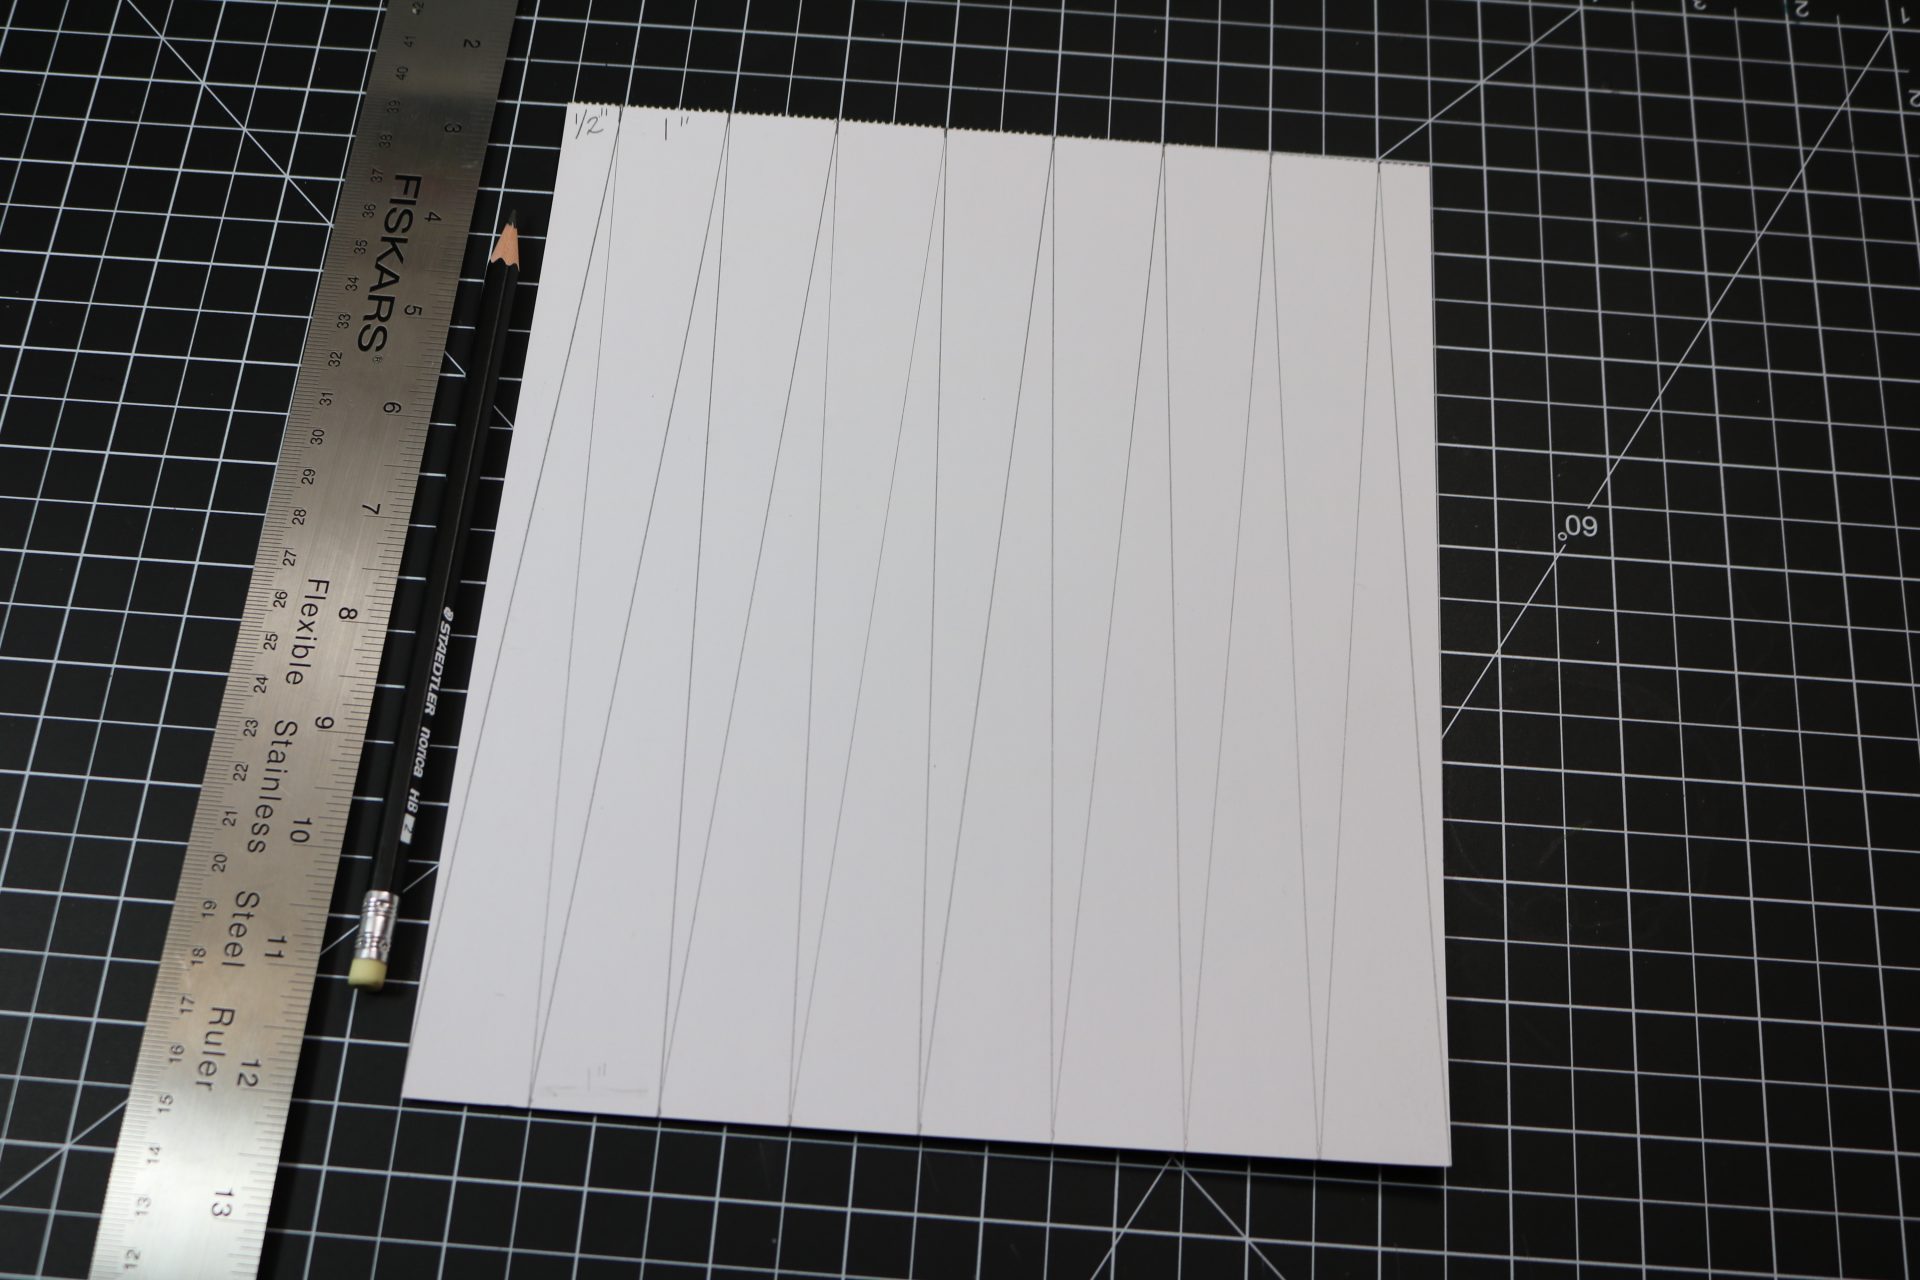
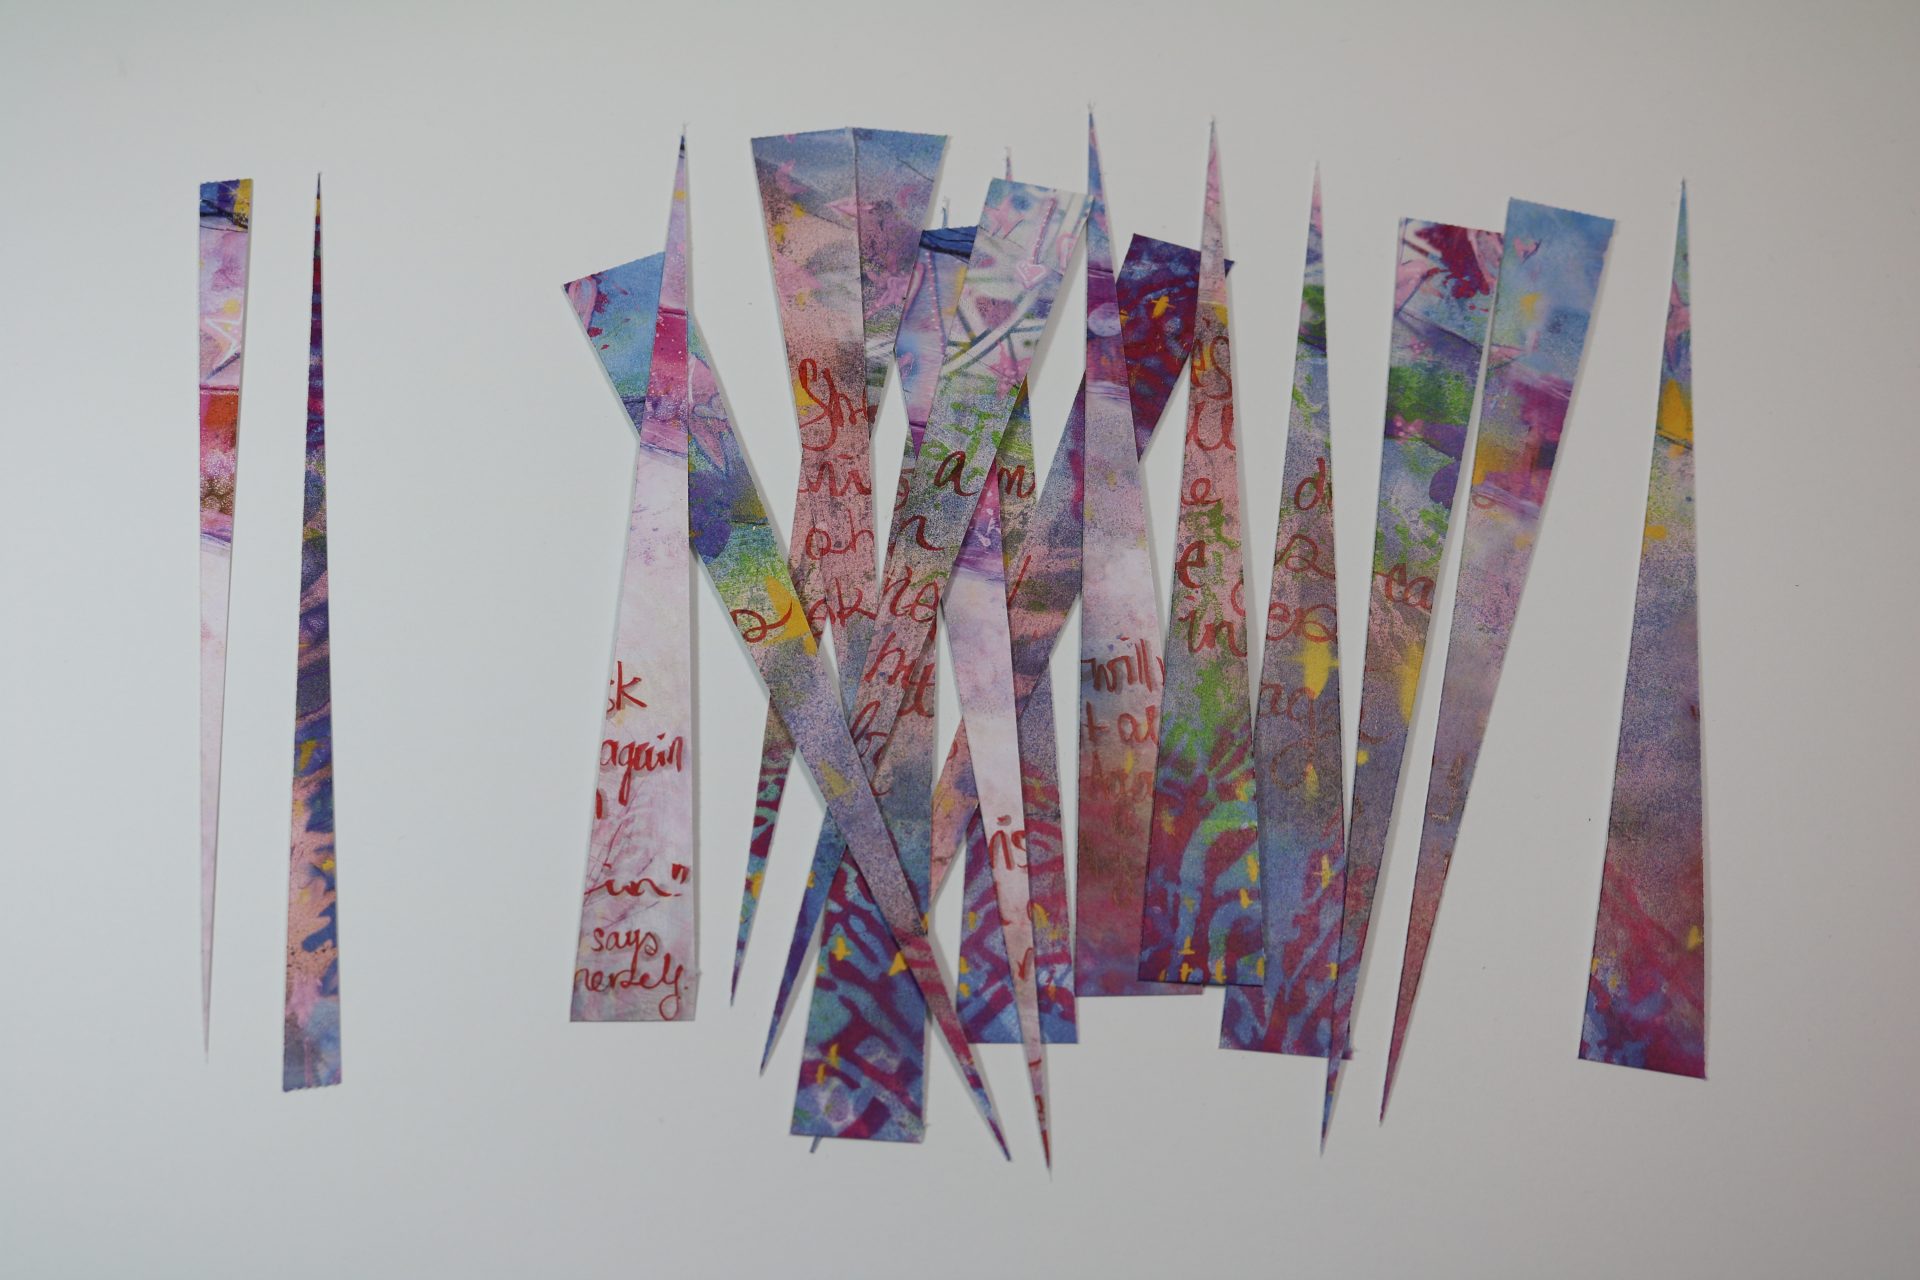
Next, use scissors or a paper cutter to cut along the lines. You will have 15 triangles to use for beads and two remaining scraps.
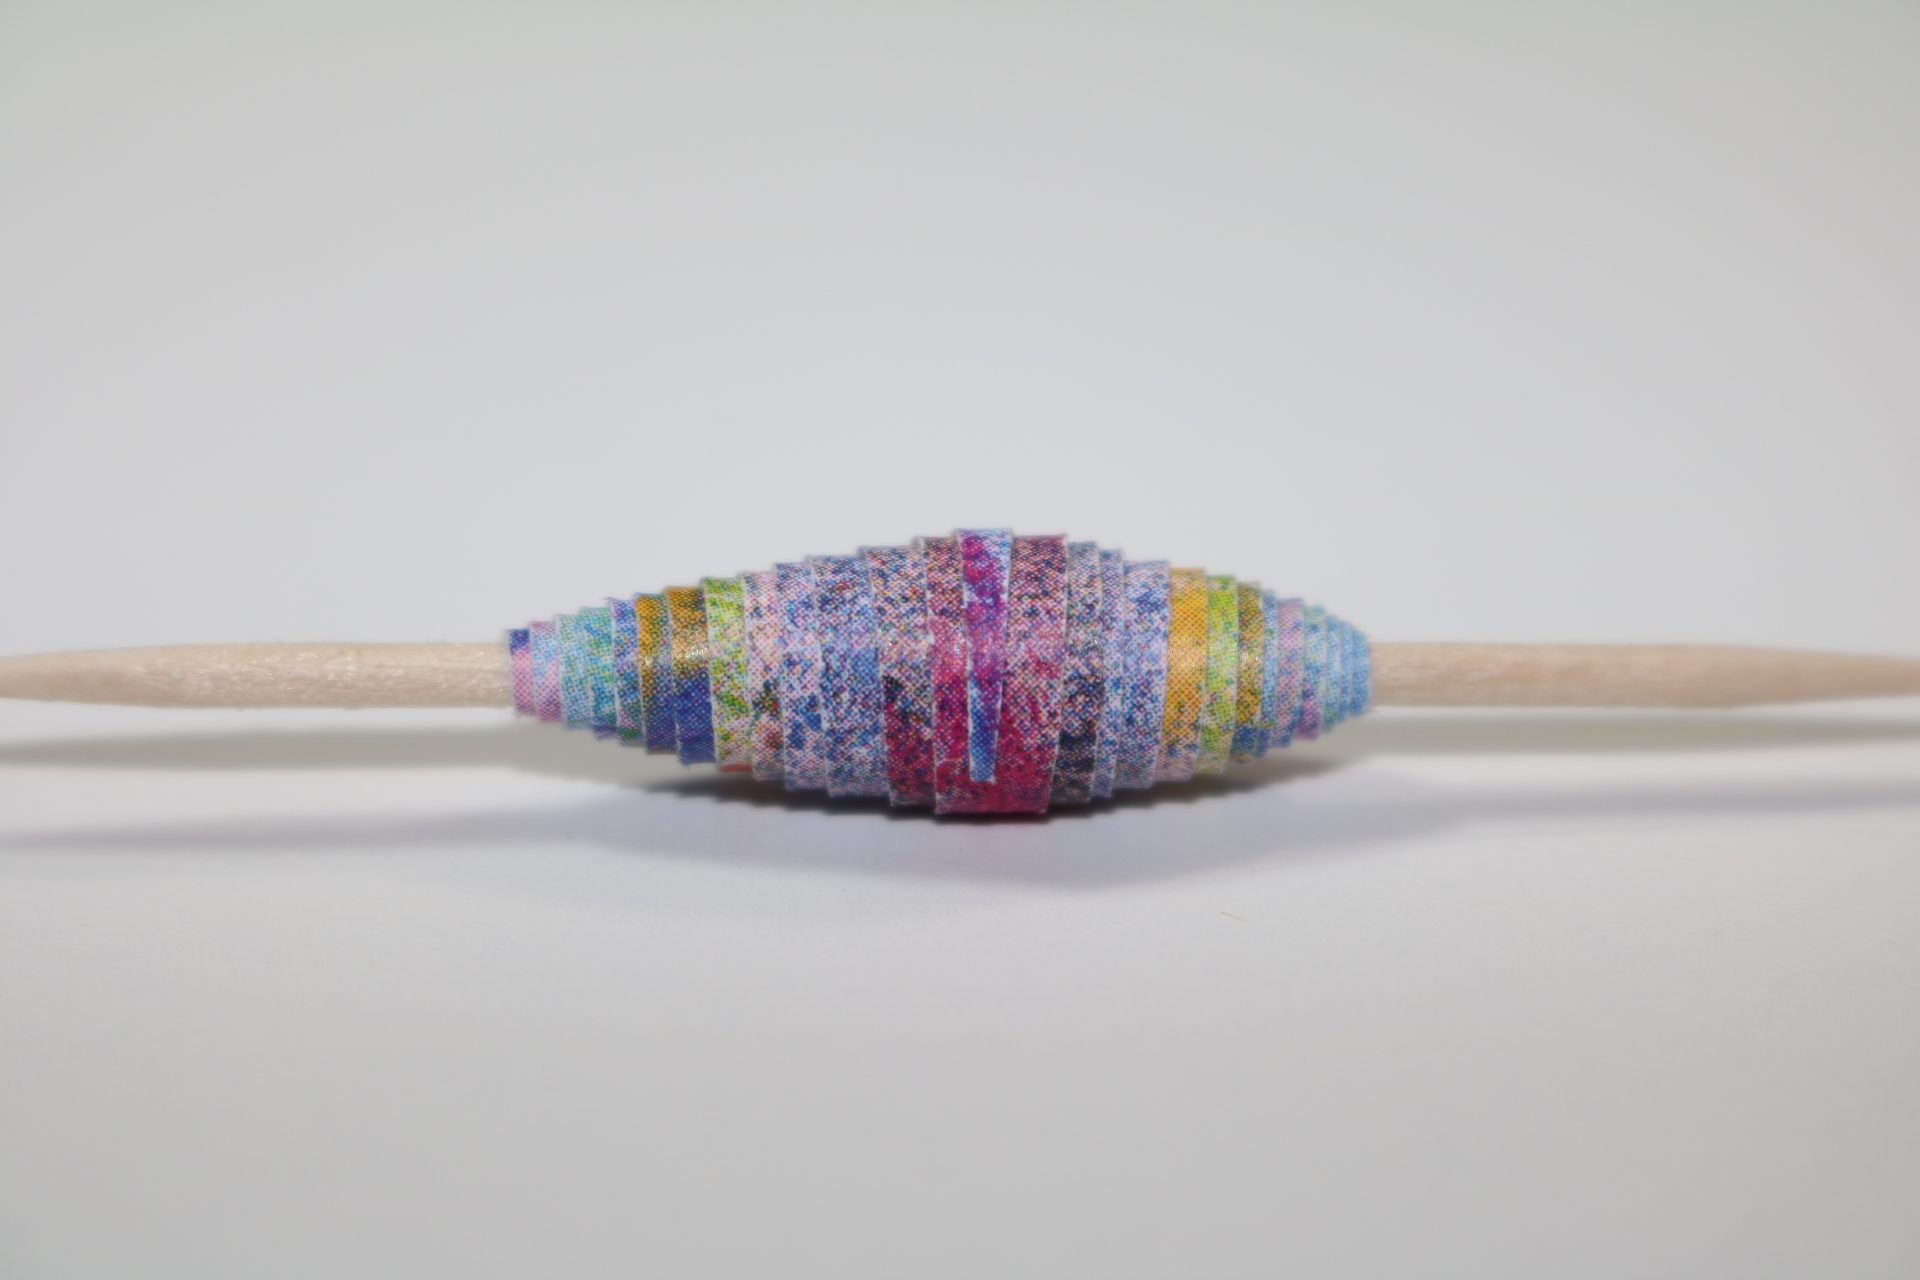
Use a toothpick to roll each bead. Start with the wide end of the triangle and roll the paper into shape on the toothpick. When you are about two inches from the end of the triangle, apply glue to the back side of the paper so the bead will hold its shape as you finish rolling. You don’t want your beads to unravel.
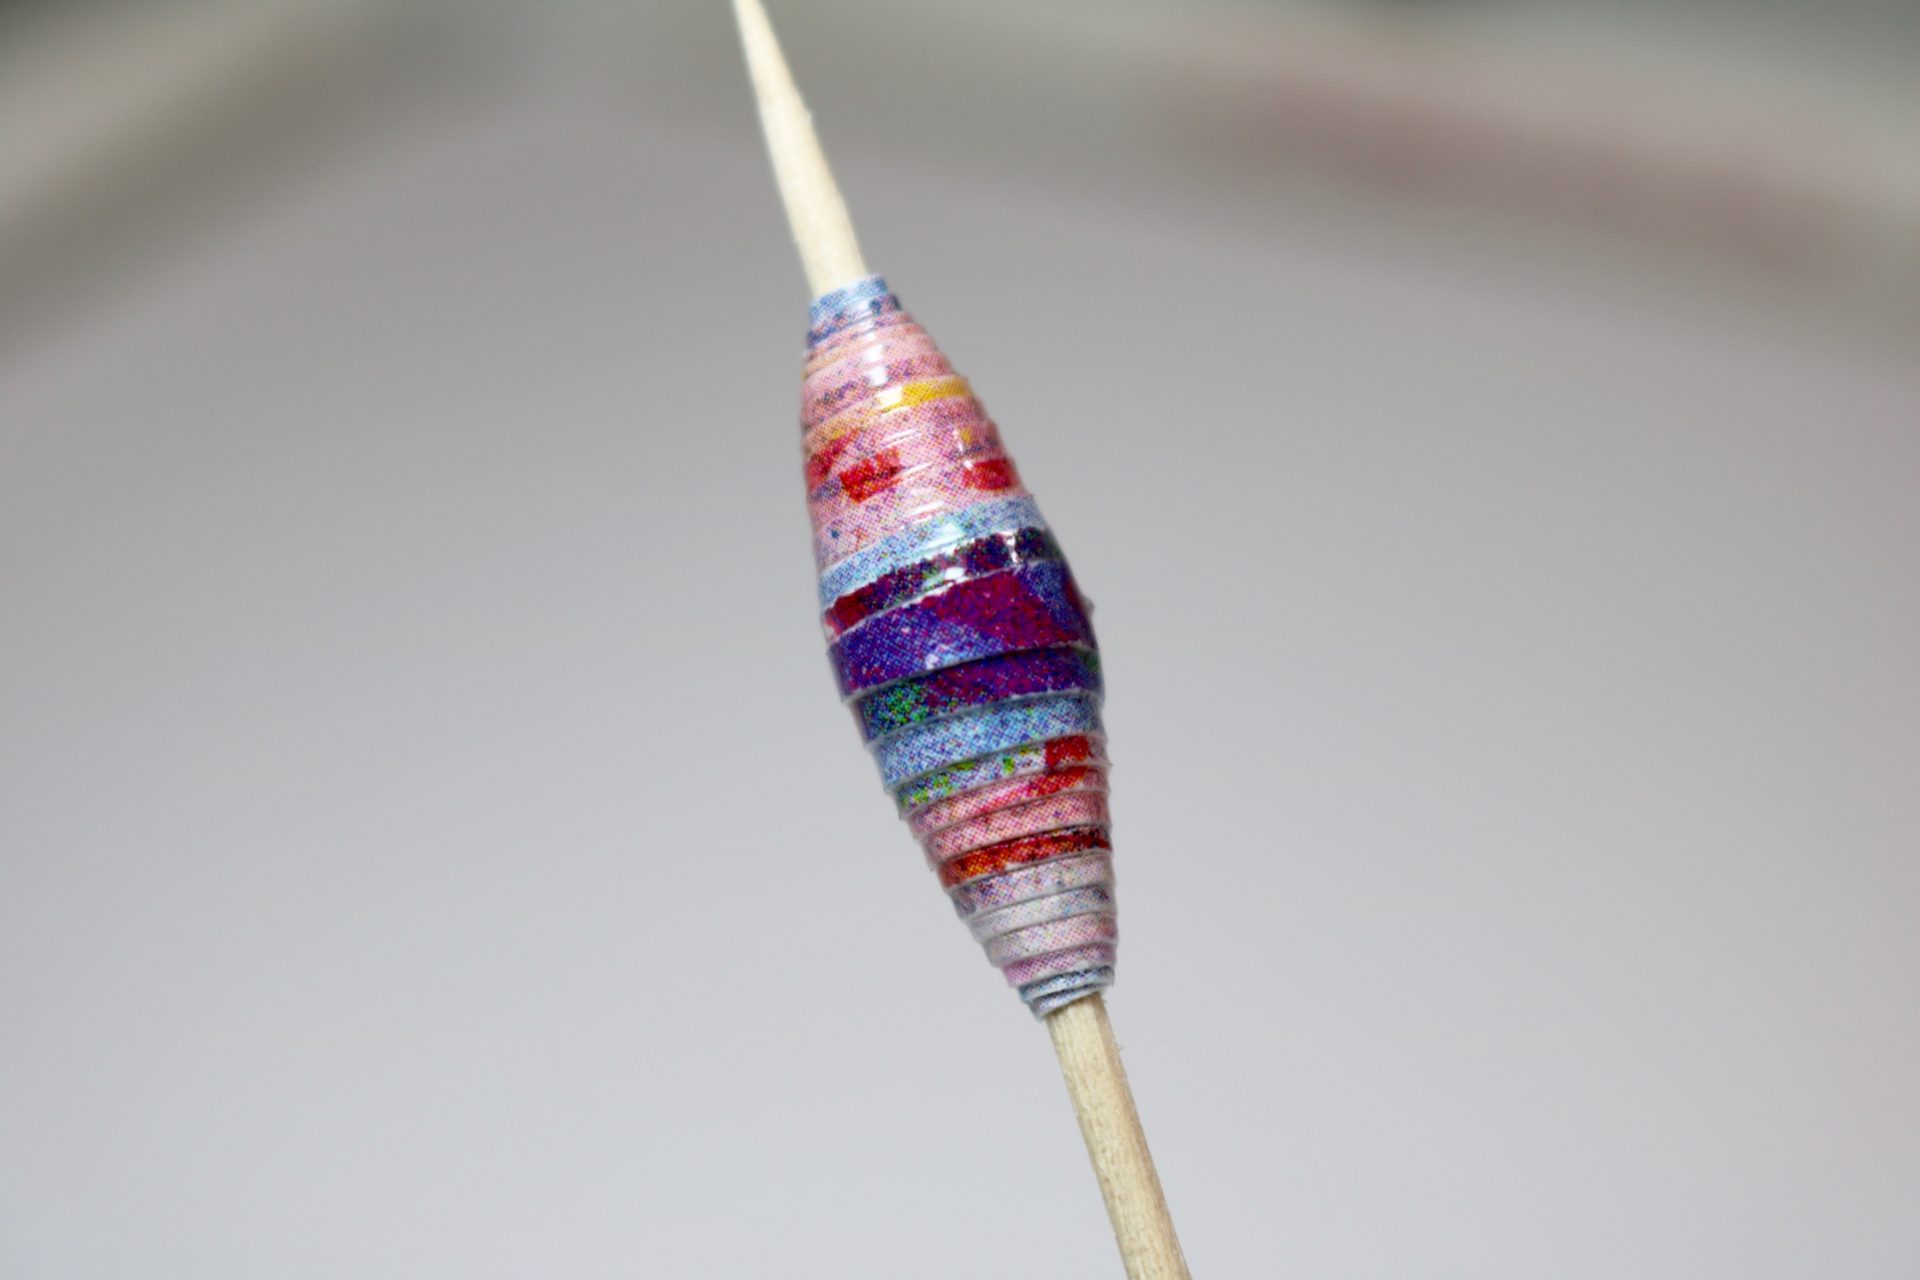
Continue the process until all your beads are formed. In a well ventilated area, seal each bead with a coat of gloss medium, clear nail polish, or Diamond Glaze. Allow beads to dry before setting them on your work surface. (I find it helpful to stick the toothpicks in a styrofoam block while they dry.) When dry, the glaze will give your beads a shiny, glass like appearance.
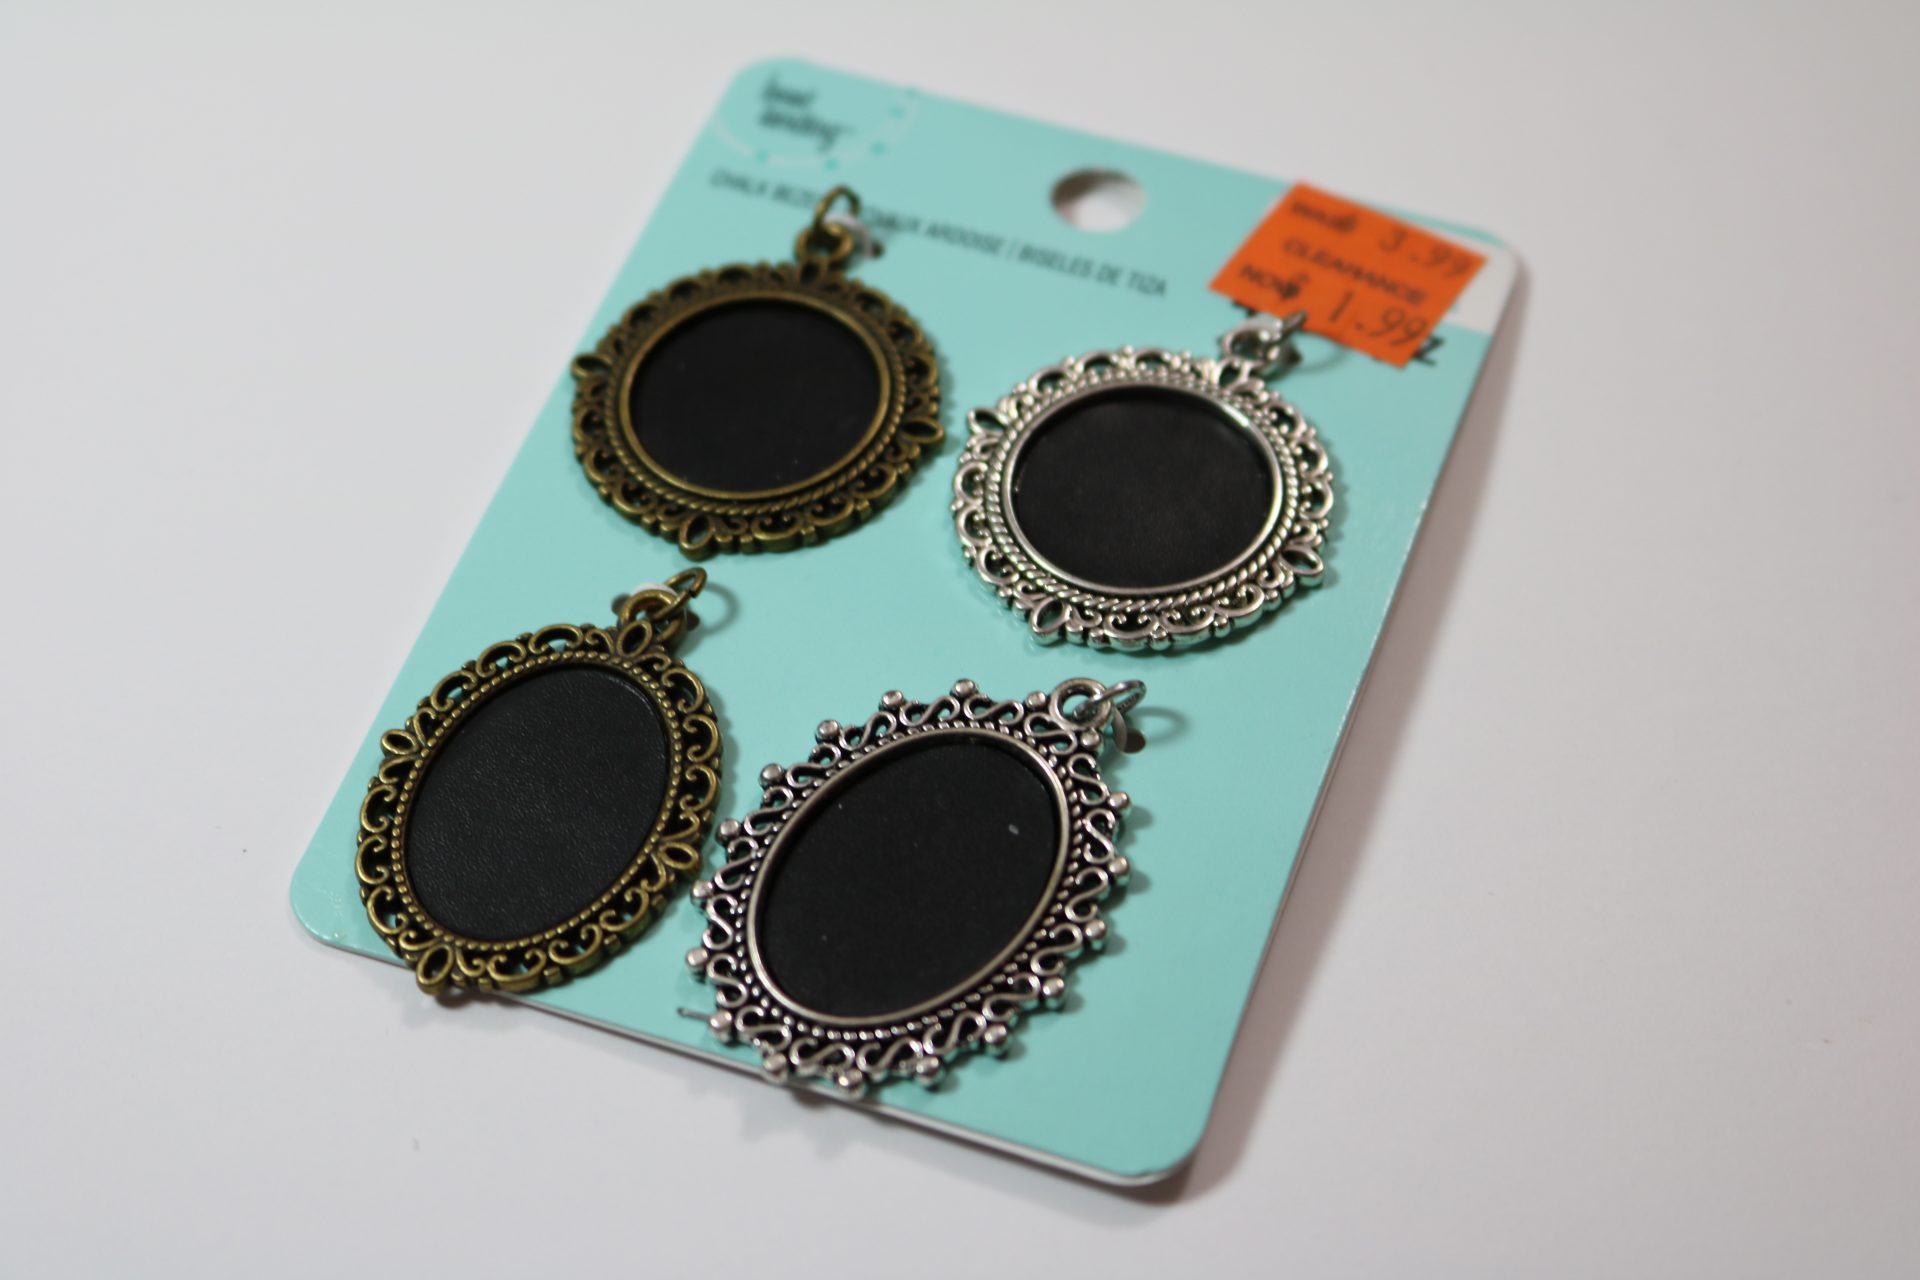
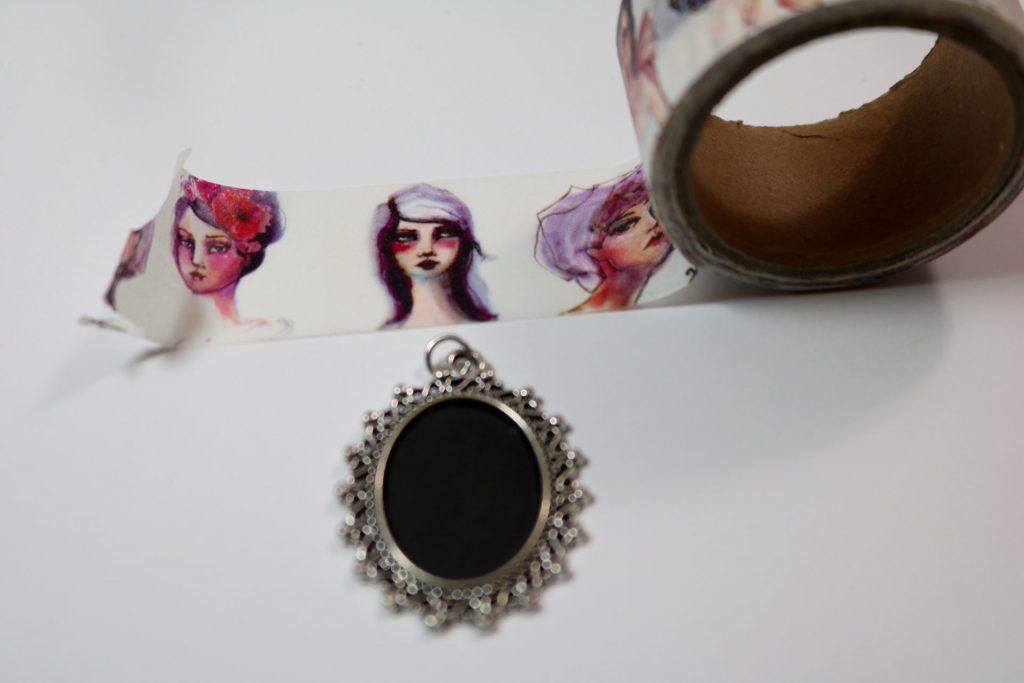
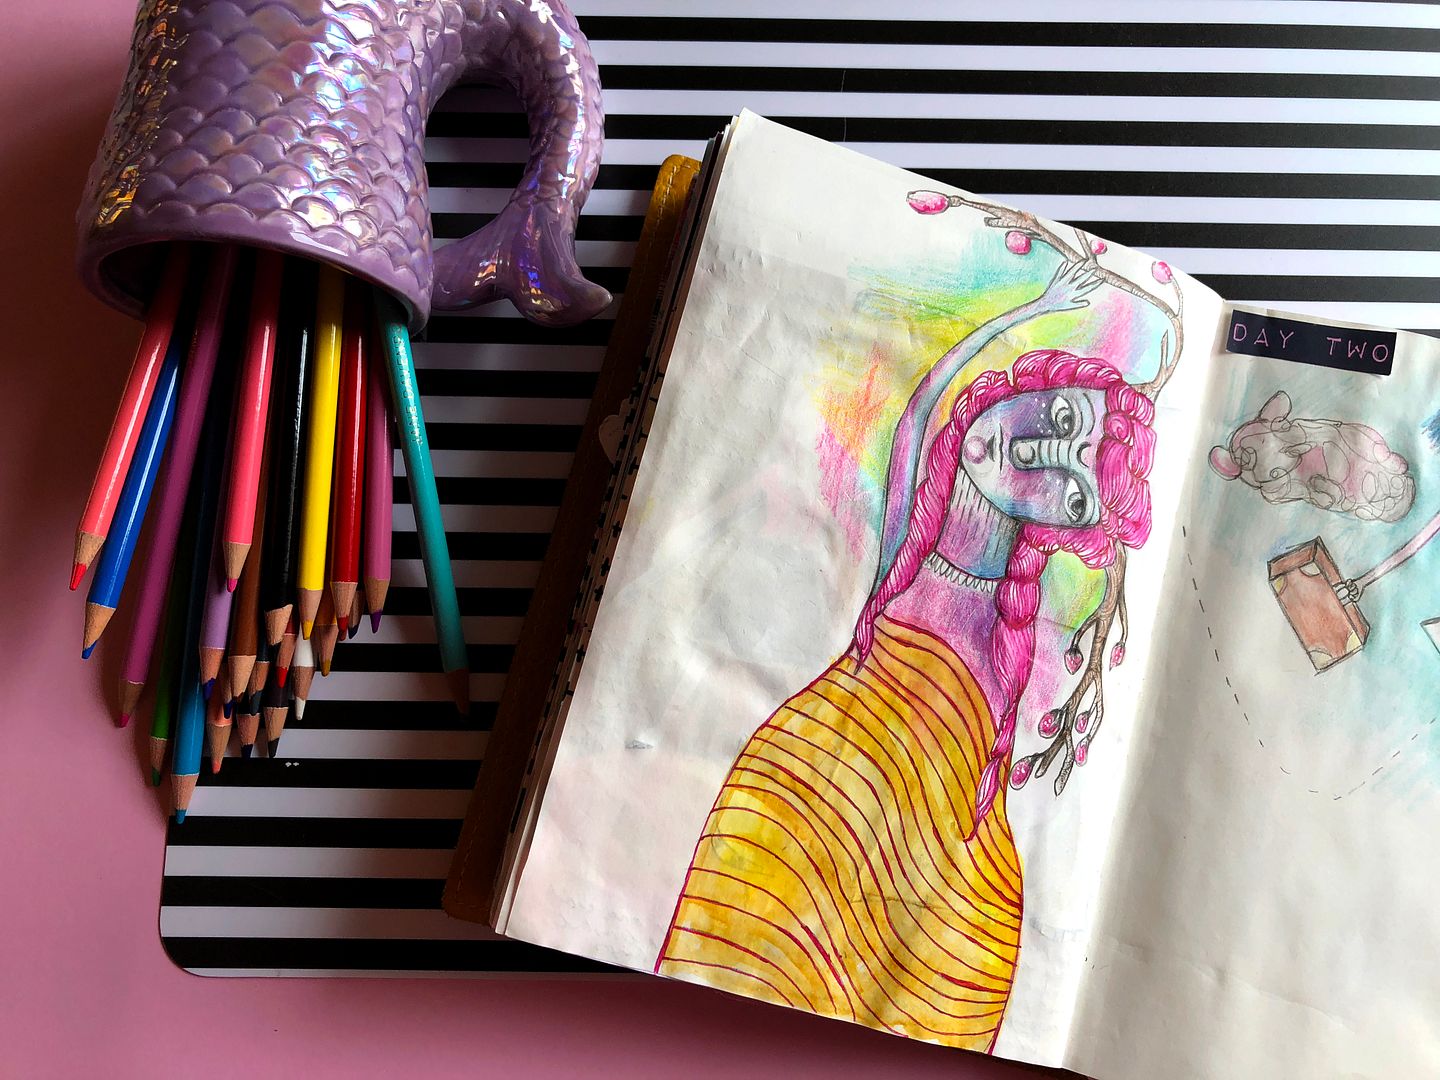
While waiting for my beads to dry, I created a matching charm necklace. I used a charm from a Bead Landing set I purchased at Michaels. I selected a face I love from Jane’s washi tape and rubbed it onto the charm and cut it neatly to fit inside.
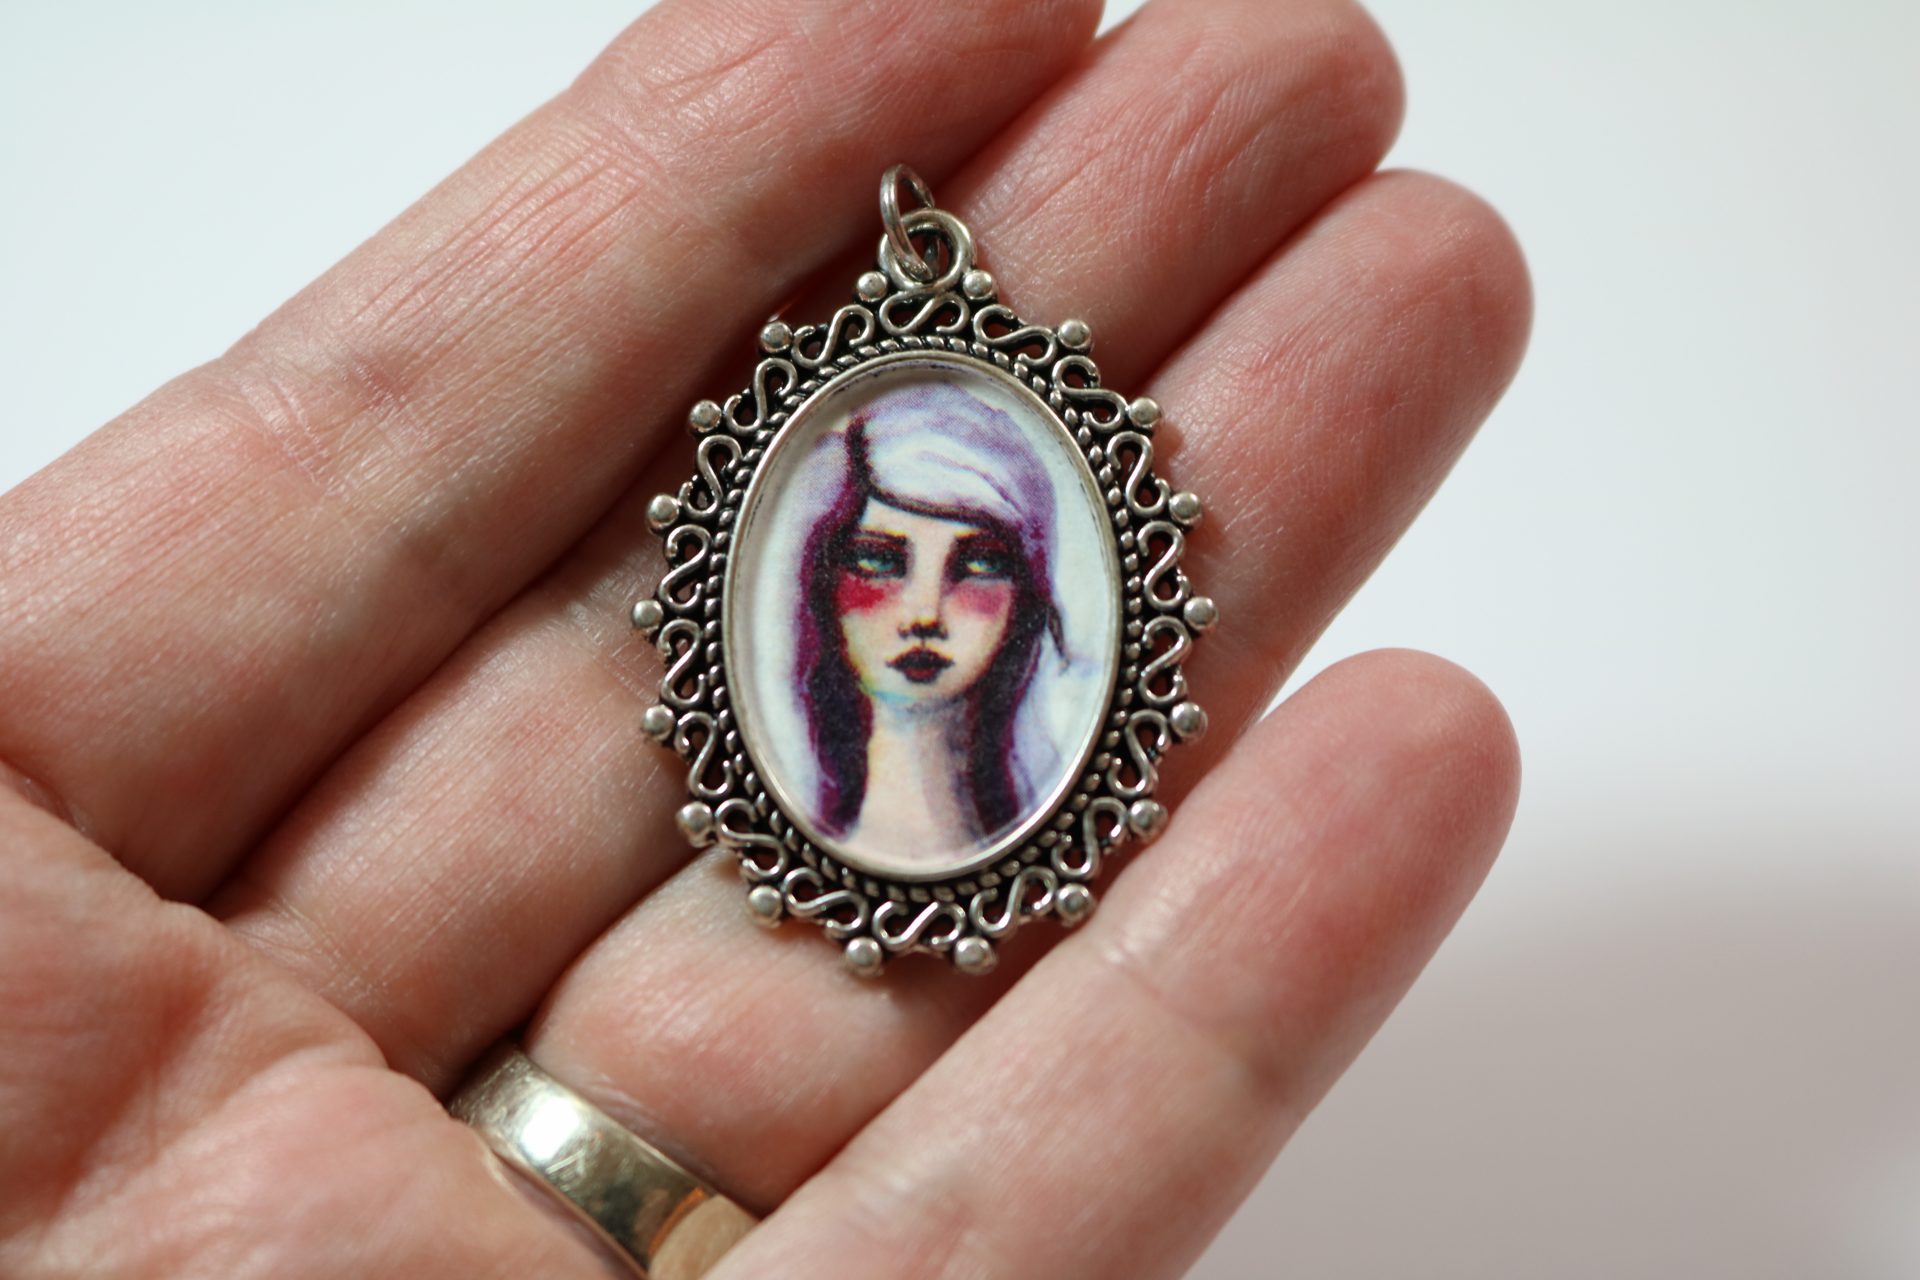
I just love her purple hair!
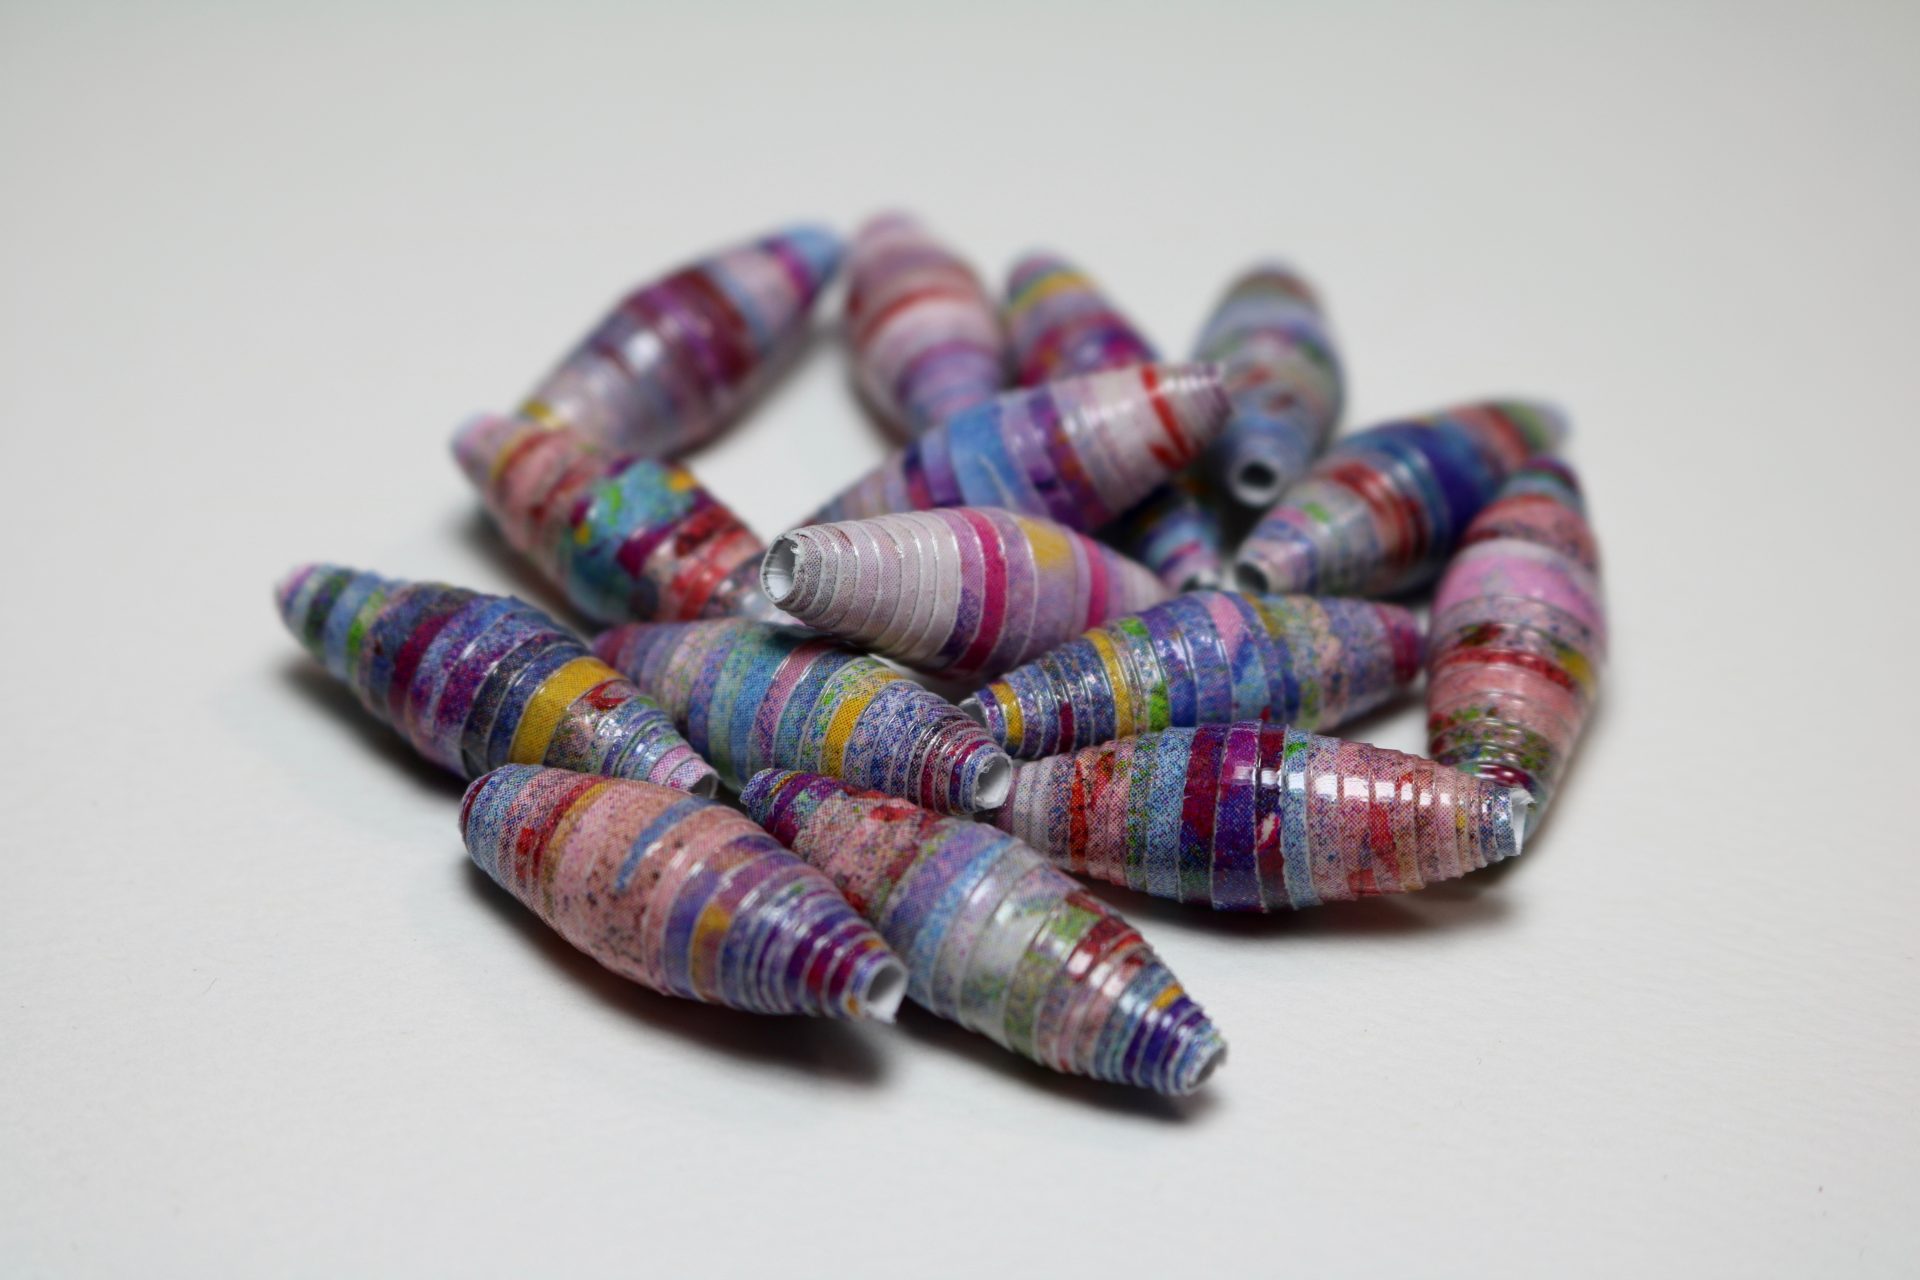
When your beads are completely dry, gently slide them off of the toothpicks. Now they are ready to be strung together to create a necklace, or bracelet, or used on the ends of page markers in your traveler’s notebook or journal! I used mine to make two bracelets. I strung them together on elastic jewelry cord with a purple glass bead in between each paper bead.
These beads are so fun to make and wear! Your friends won’t believe they are made from paper!

SHARE
[Sassy_Social_Share]

Welcome to my blog Davenpeeps!
If we haven’t met yet, I’m Jane Davenport! I’m a professional artist, art workshop teacher, 5x bestselling author, art supply creator and self-diagnosed art supply addict!
I’m a creativity expert who has guided tens of thousands of women back to their art, defying their self imposed creative gravity and making art with joy and confidence. I share my mixed media art and drawing techniques with everyday artists who feel their creativity calling them to play with colour, texture and their art supplies. I hope my blog can help you embrace the mess, let go of perfectionitis and experience the joy of creativity.
LEARN MORE ABOUT ME >

Art supply addict?

Wow, you sure have landed in the right place!
Join my newsletter to receive all the art supply launches, announcements, creativity tips & challenges.